Manage SmartCab
How to set up and configure ports and devices on your SmartCab colocation cabinet
It’s easy to manage a SmartCab via its page in Command Center. To get there:
- Select Infrastructure in the navbar
- Choose the metro location of the SmartCab from ‘Your Locations’
- Scroll down to the Digital Exchange Services section and select the SmartCab you would like to manage
From the SmartCab page, you can change the name and description for your cabinet, e.g. to make it easier to identify, or in line with your organization’s naming convention. You can also see at-a-glance which ports are connected, view a diagram of your rack elevation, and monitor and manage the cabinet’s connections.
Use the Networking & Devices tab to manage connections and devices. Use the Access tab to manage who is allowed to attend the cabinet in the data center.
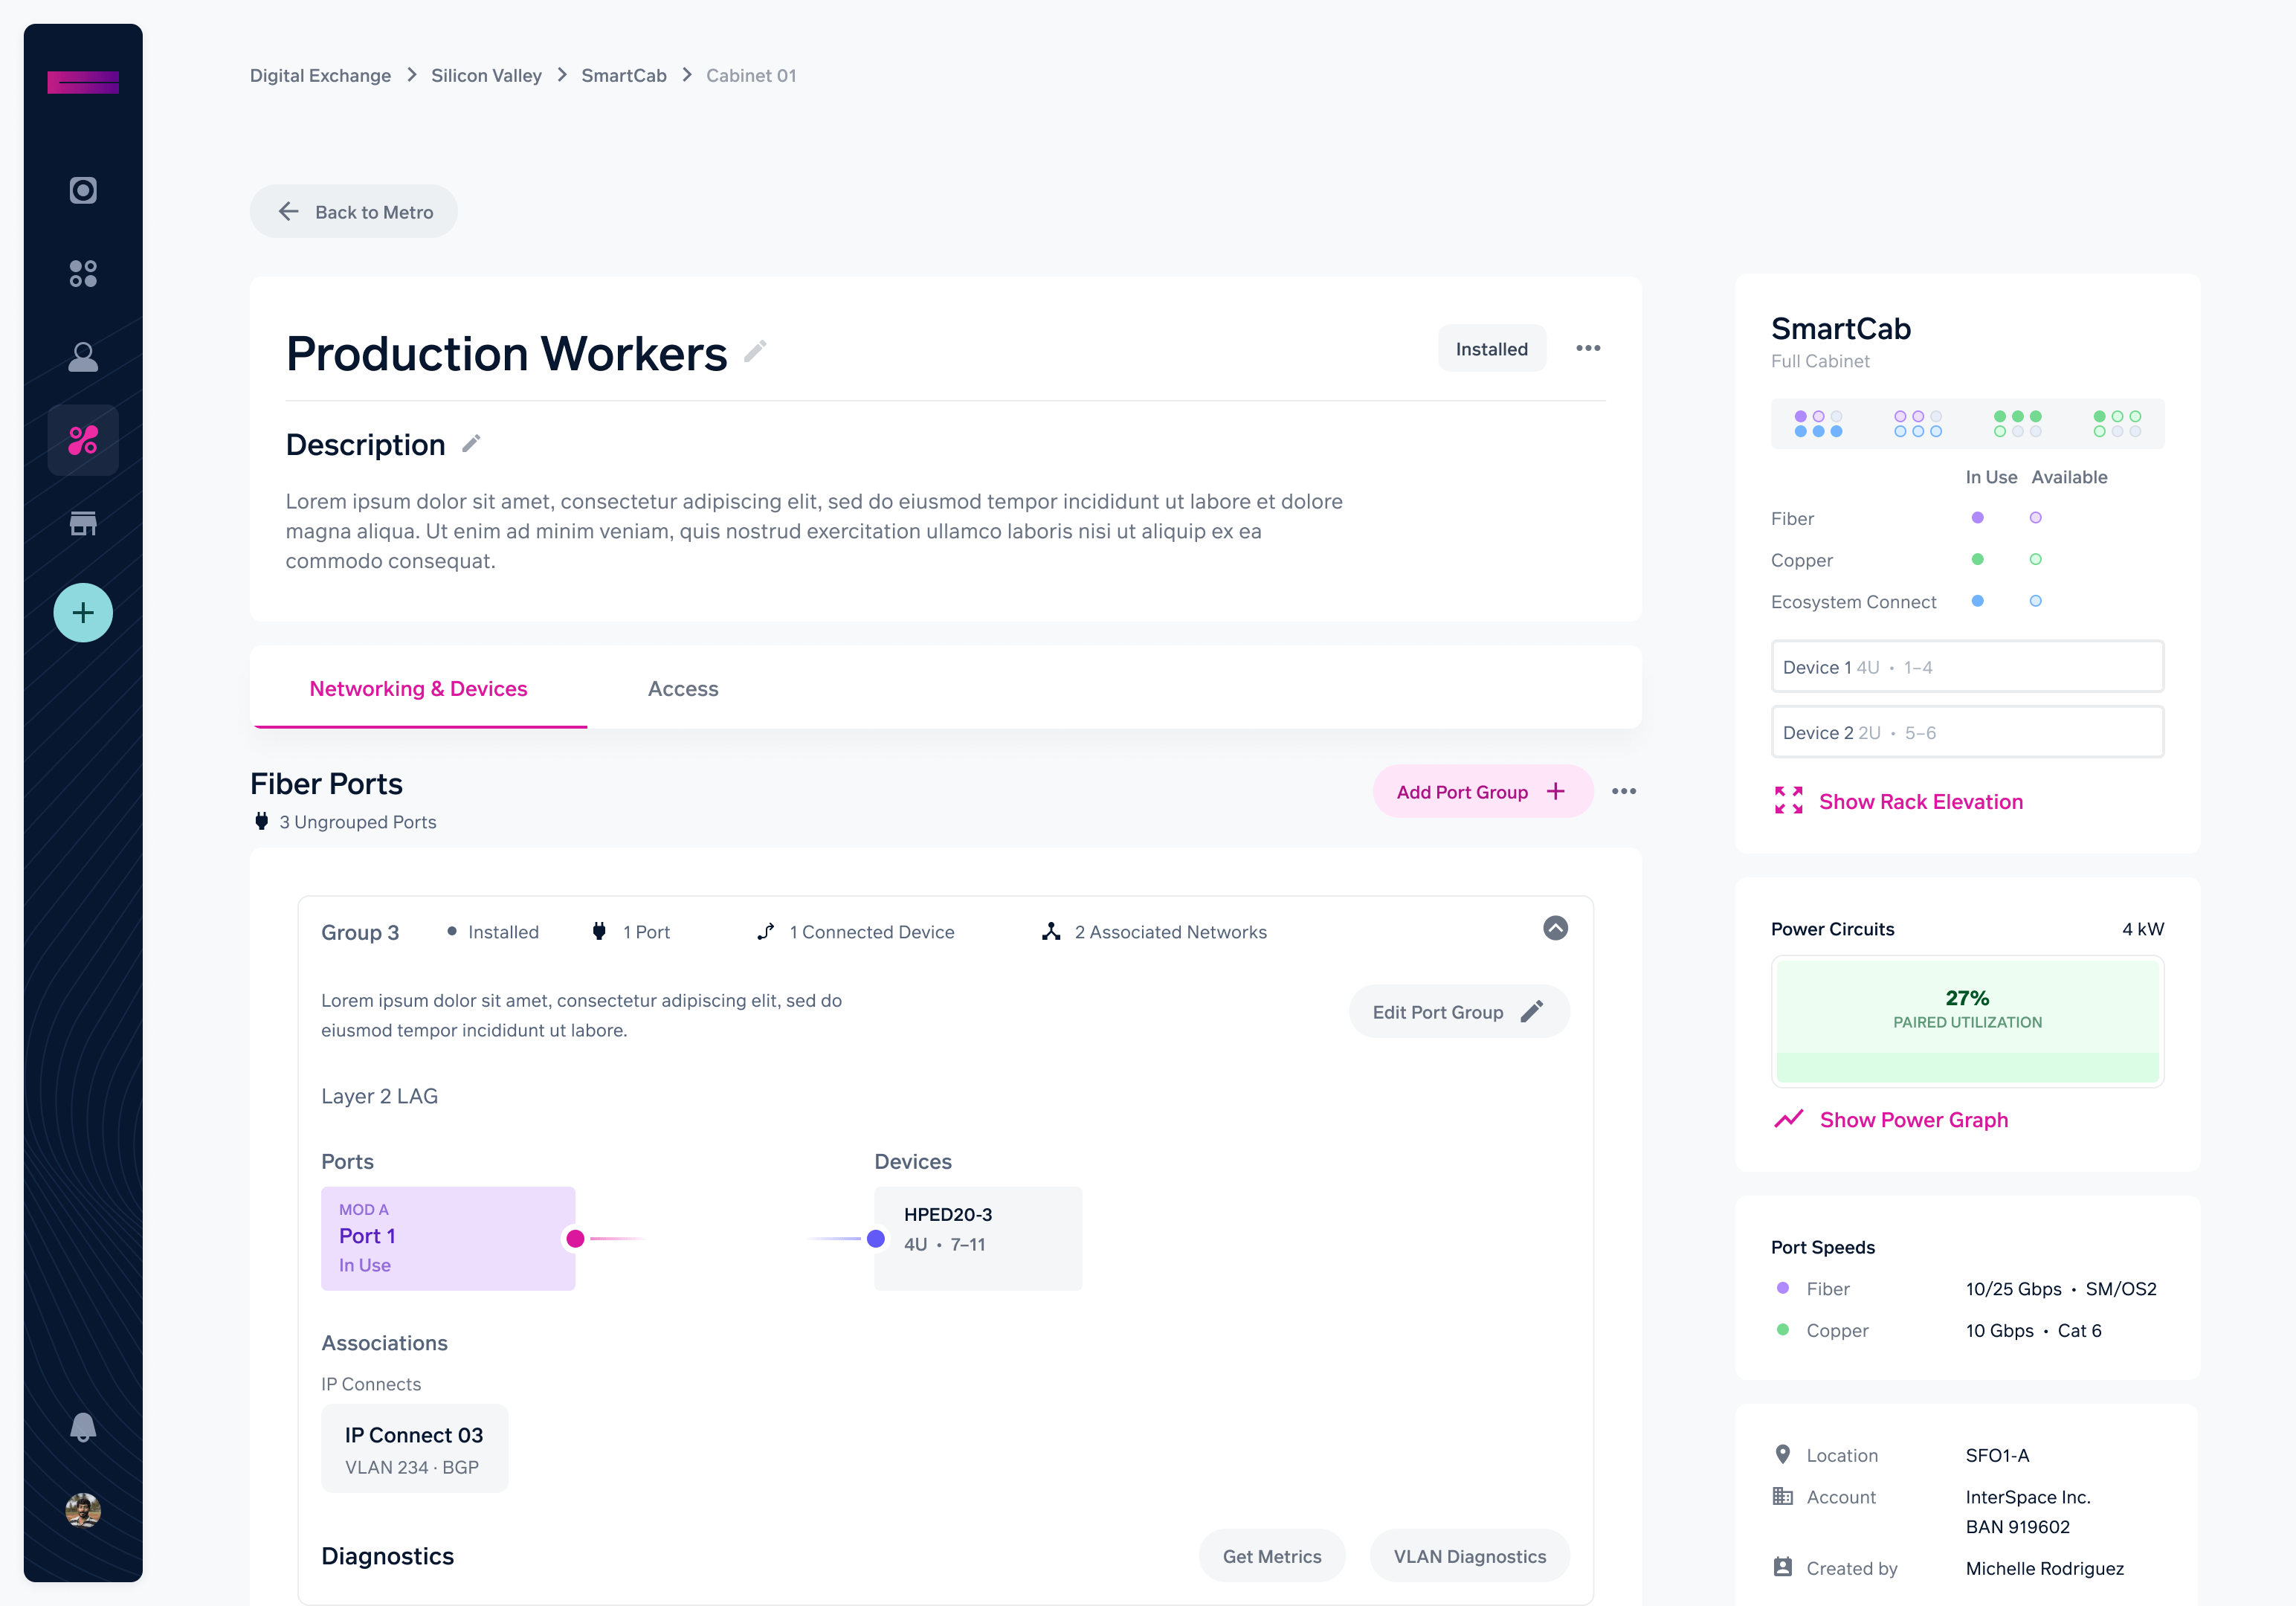
Managing ports
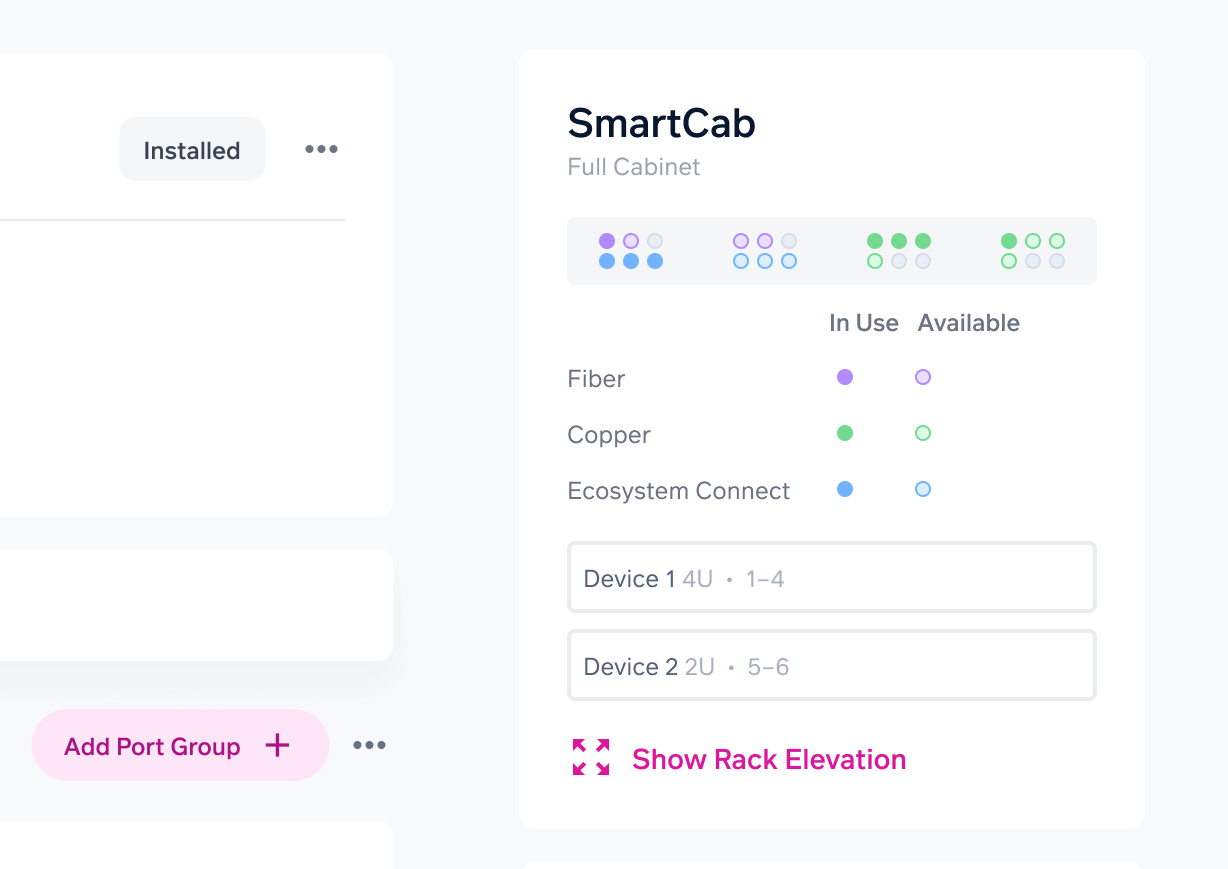
Smart cabinets support fiber and copper ports connected to the Digital Exchange, in addition to fiber cabling to the Meet-Me-Room with an Ecosystem Connect panel.
- The image in the right-hand column shows at-a-glance the SmartCab ports in use.
- Select the "Show Rack Elevation" button to see a diagram replicating the layout of the cabinet, including the location of any devices that are installed. Note, this requires you to correctly label your devices in the portal when you connect them (see below).
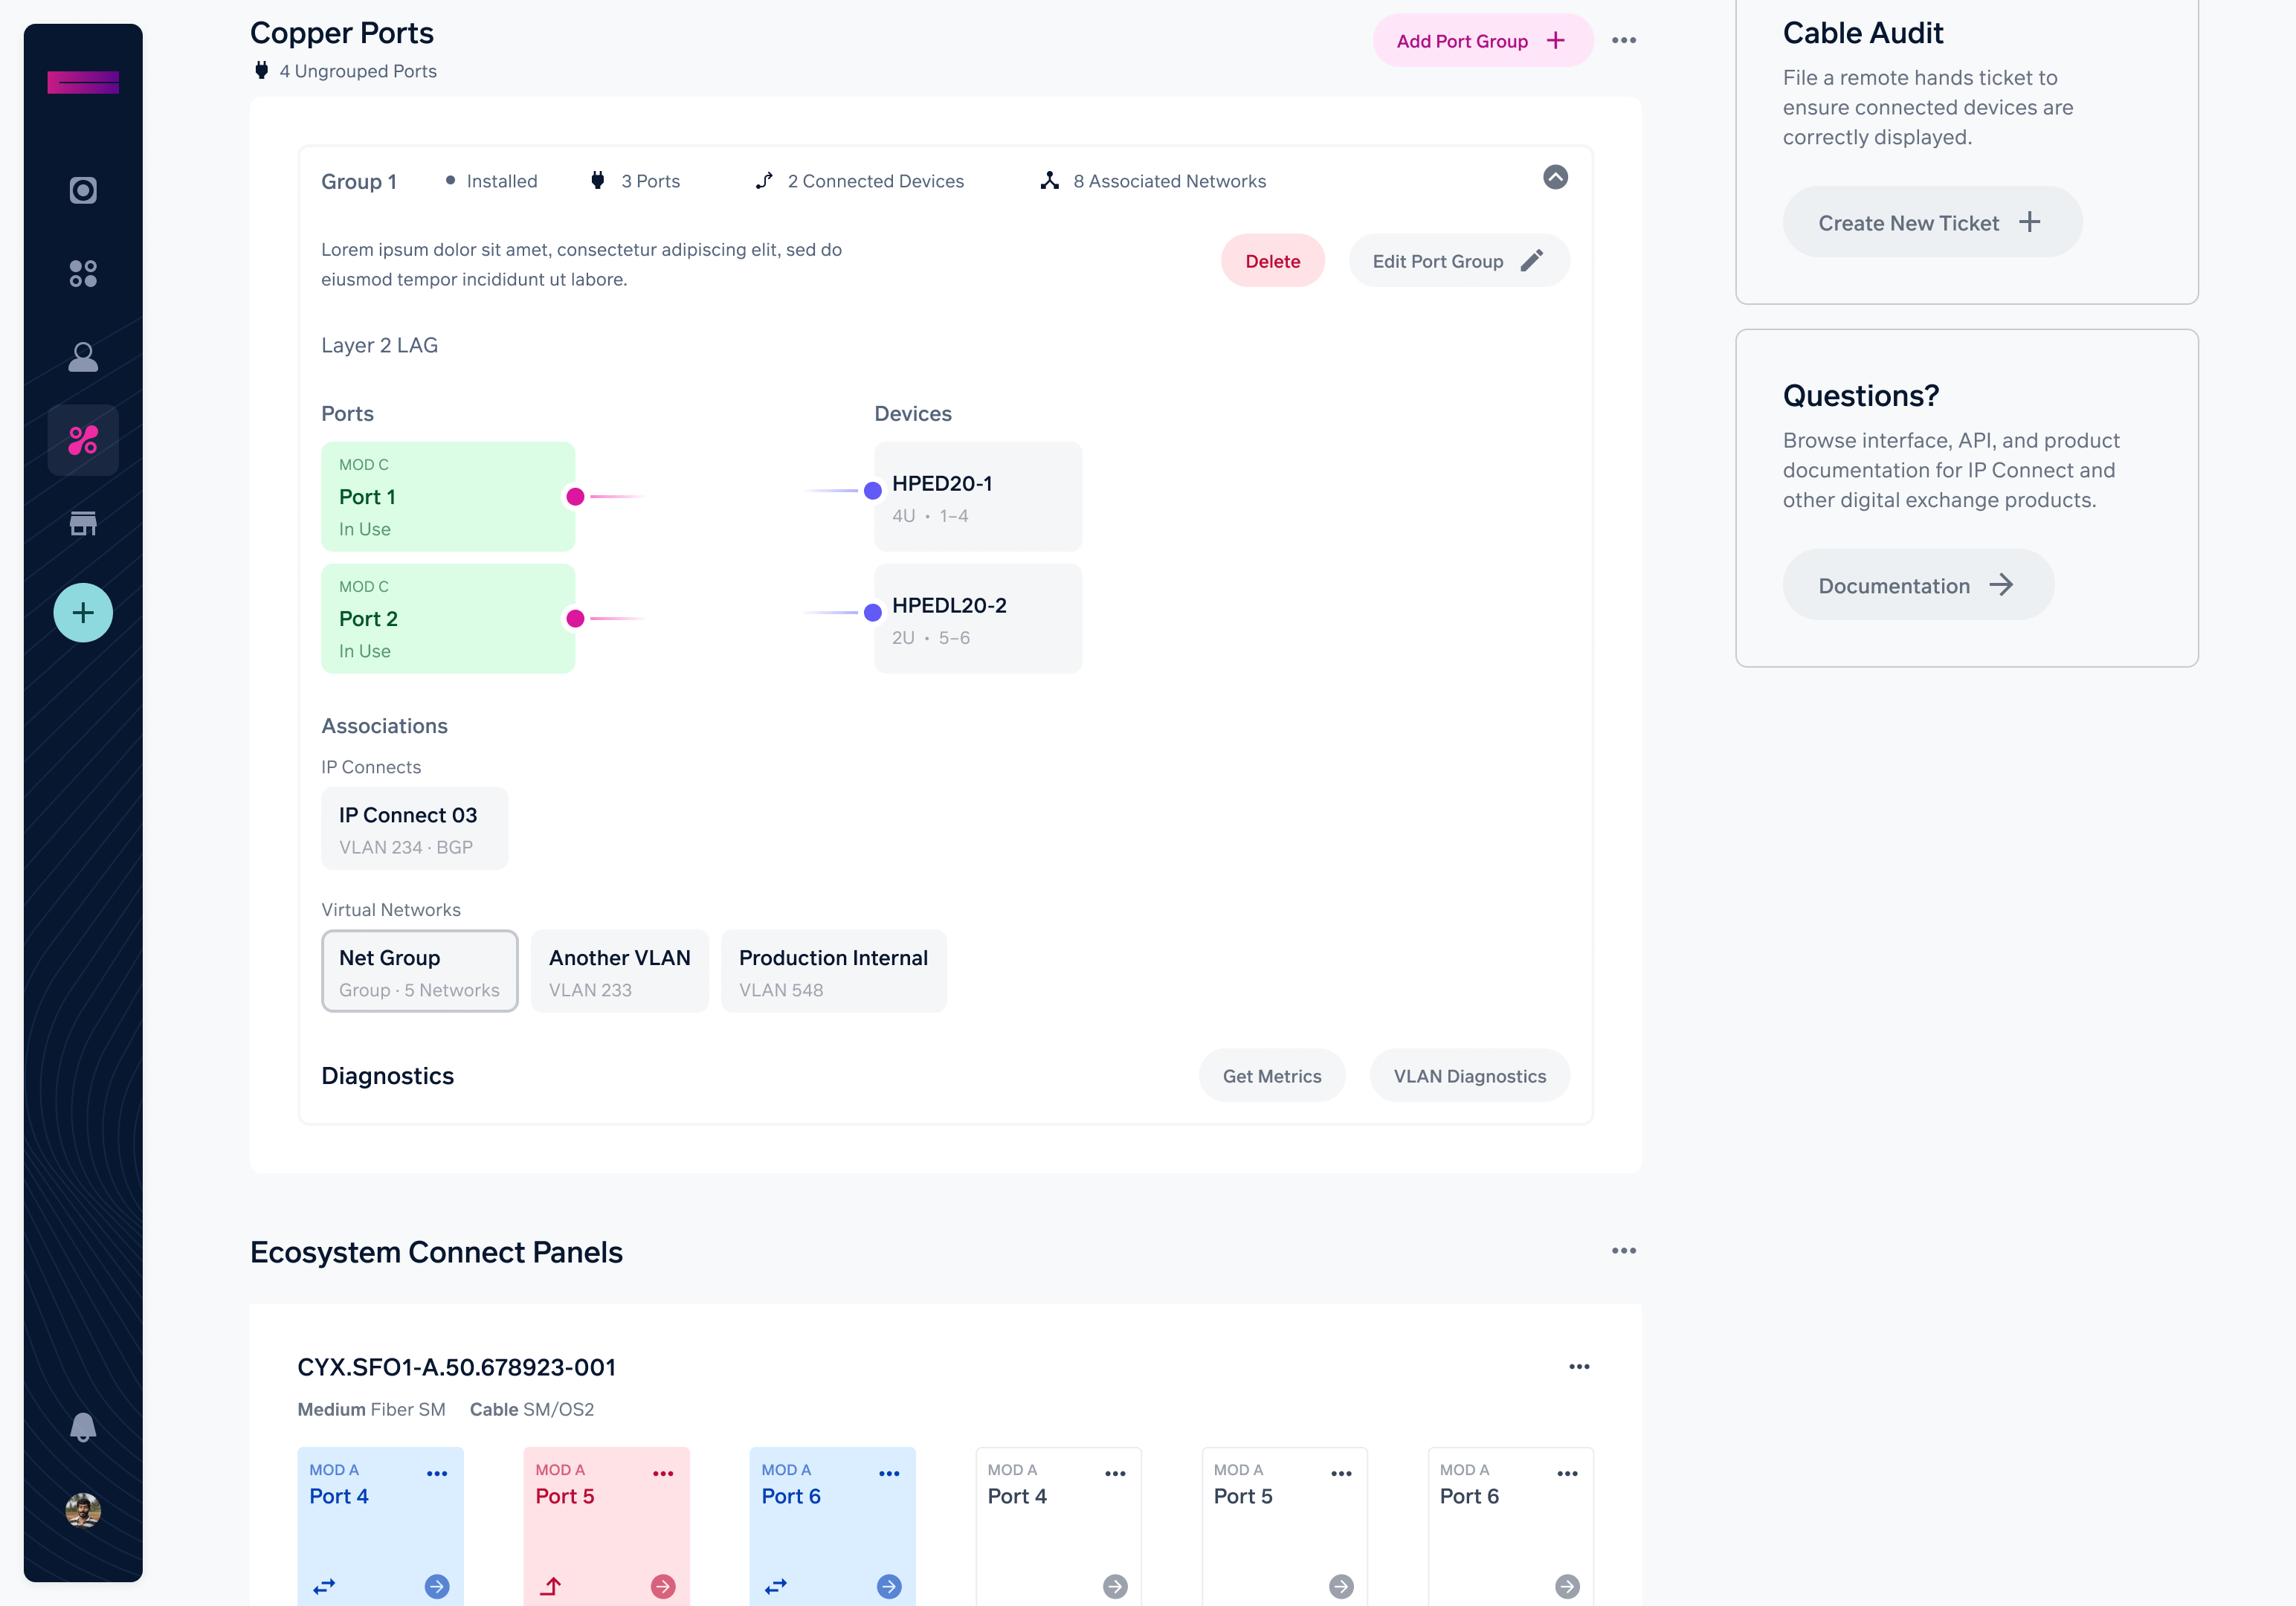
To configure a fiber or copper port:
- Select on the Networking & Devices tab to manage ports and devices.
- Scroll down to the correct section of the SmartCab page and select "Add Port Group".
- Give the port group a name and description. Port type is automatically selected.
- Under Select Available Ports, choose from the available options.
- Use Networking to select the network type, and under associations, you can choose to bind the port to a virtual network or an IP Connect network. You can search for a virtual network by name using the search box.
Ecosystem Connect ports can be managed in the same way as ports within a traditional colocation space, allowing you to order interconnections from the portal to other providers.
Managing devices
To add devices to your SmartCab, you will need to physically install them, and then configure the SmartCab in the portal.
- Install the physical device in the smart cabinet and connect the port(s) on the device appropriately.
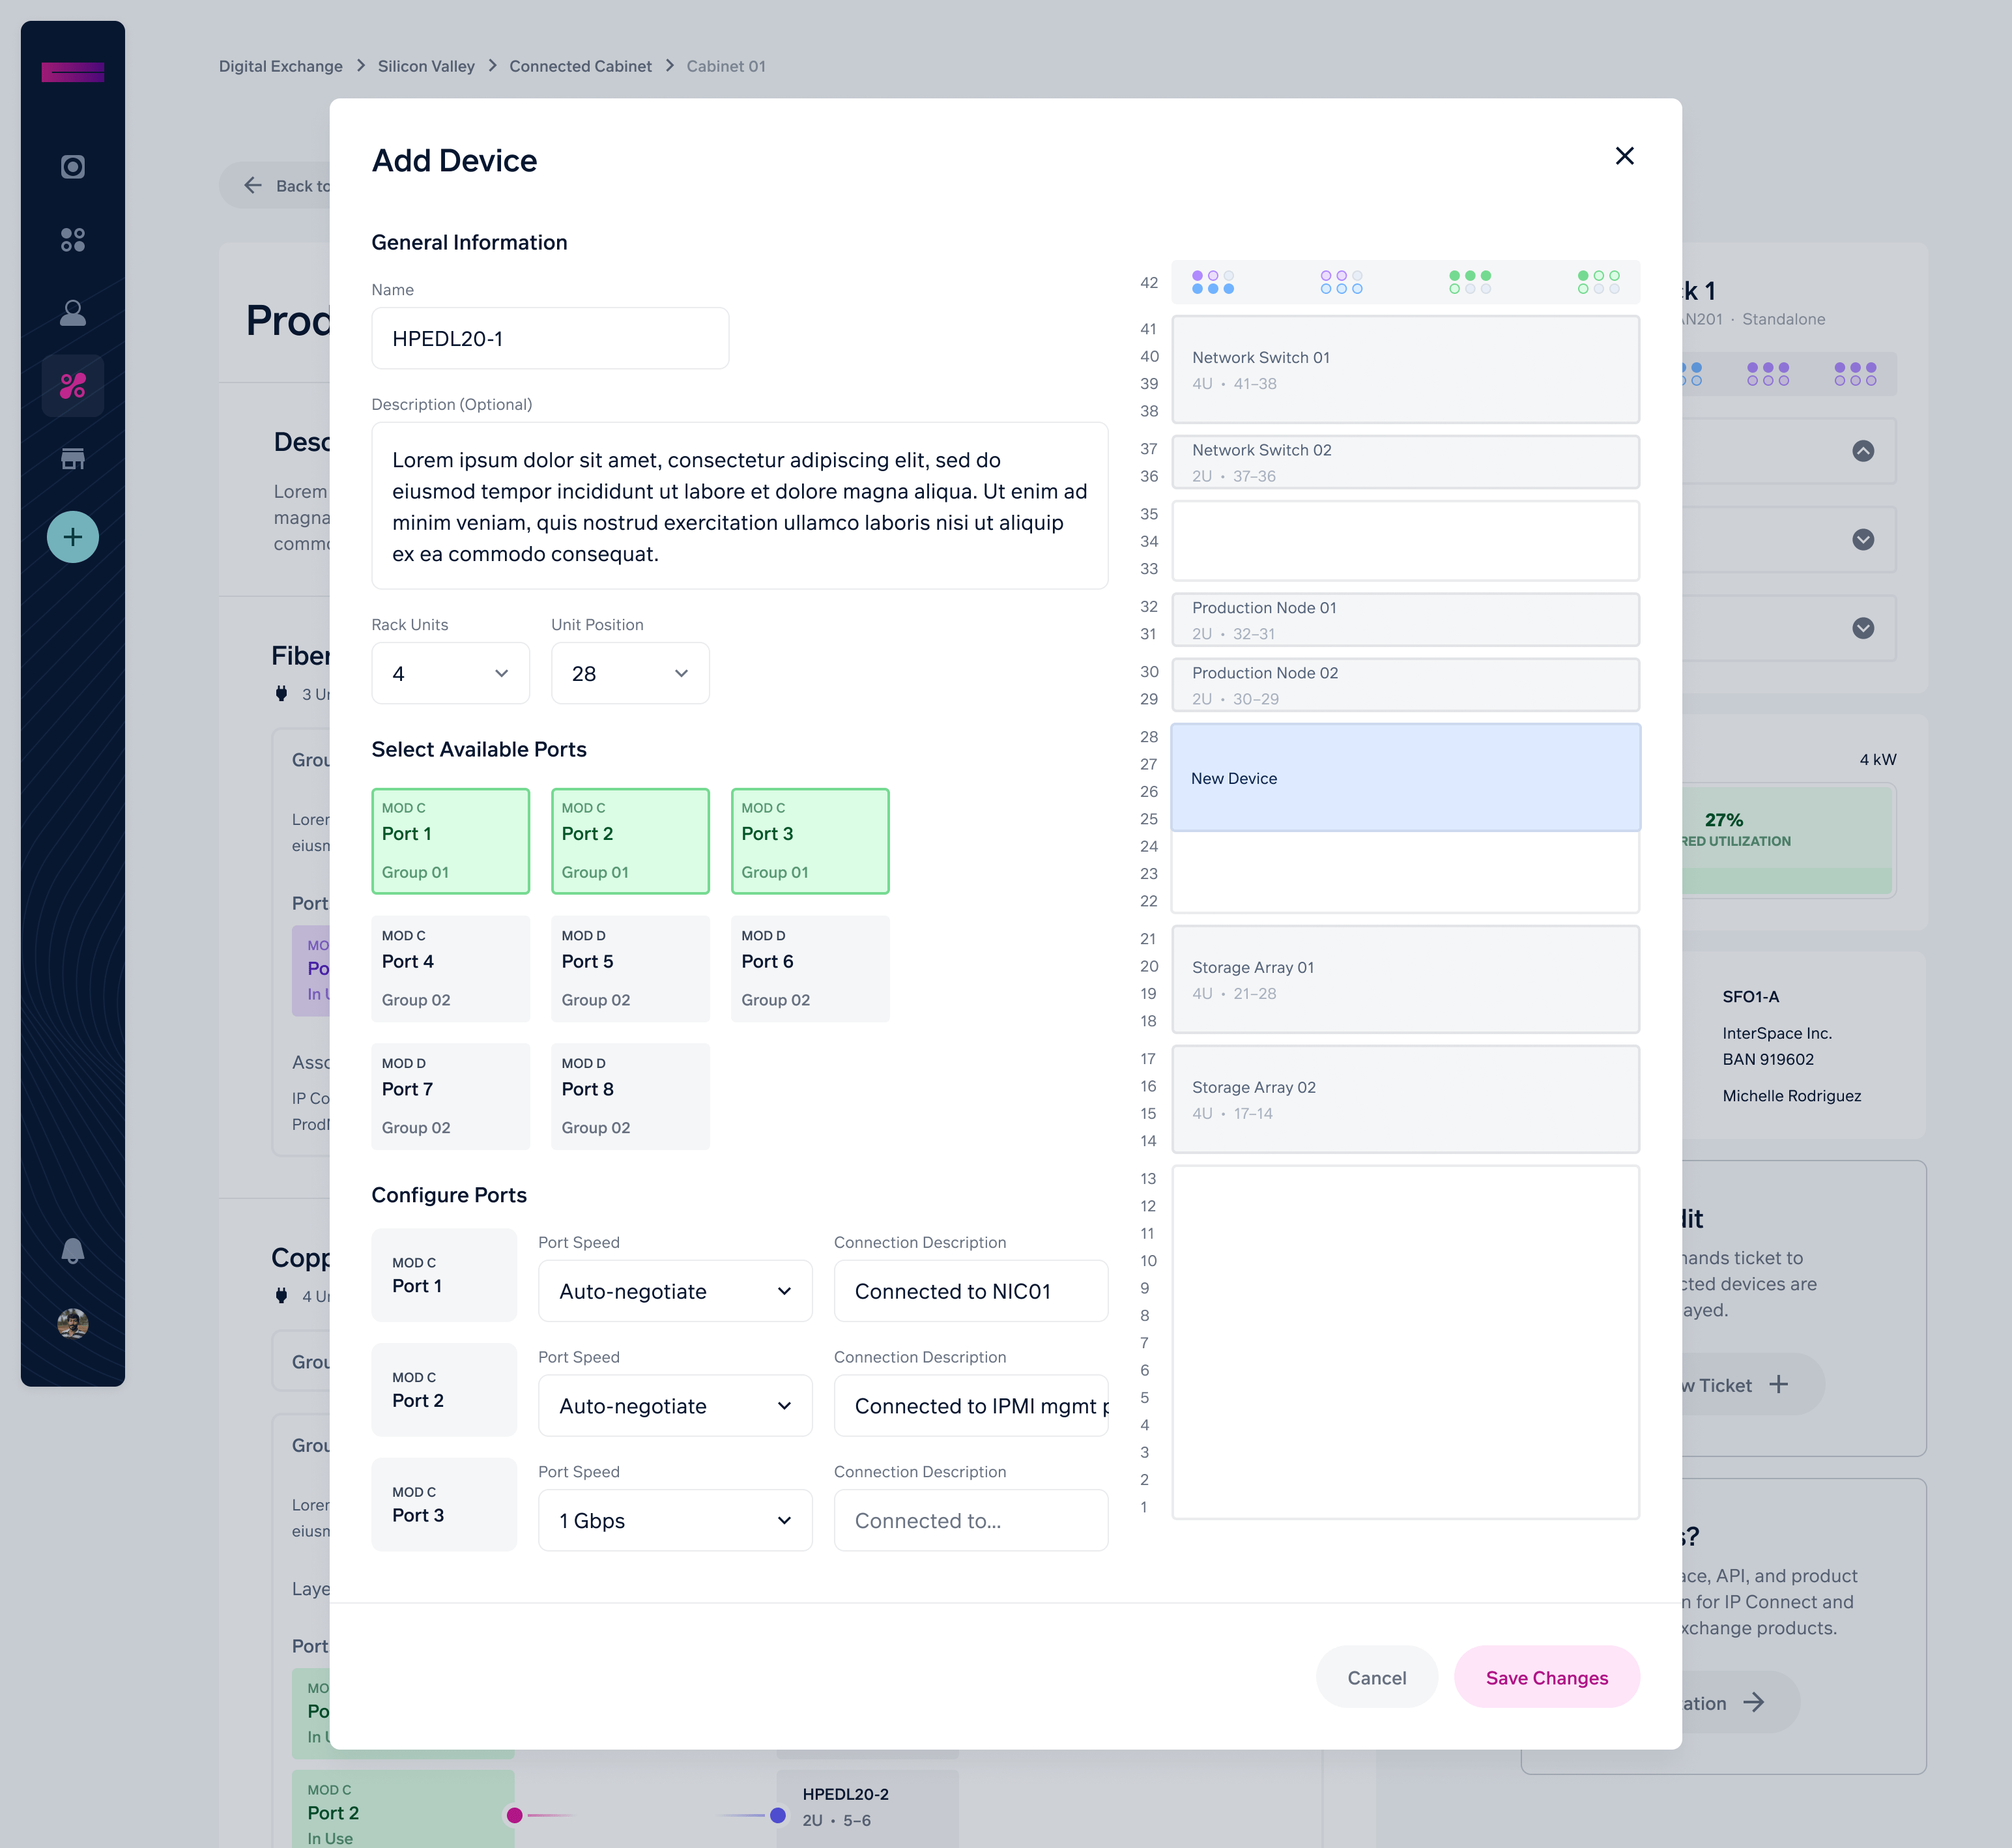
- On the SmartCab portal page, Networking & Devices tab, select the "Add Device" button and complete the required information, inputting which ports the devices are connected to.
- Include the correct Rack Unit and Unit Position information, so we can generate an accurate rack elevation chart for you.
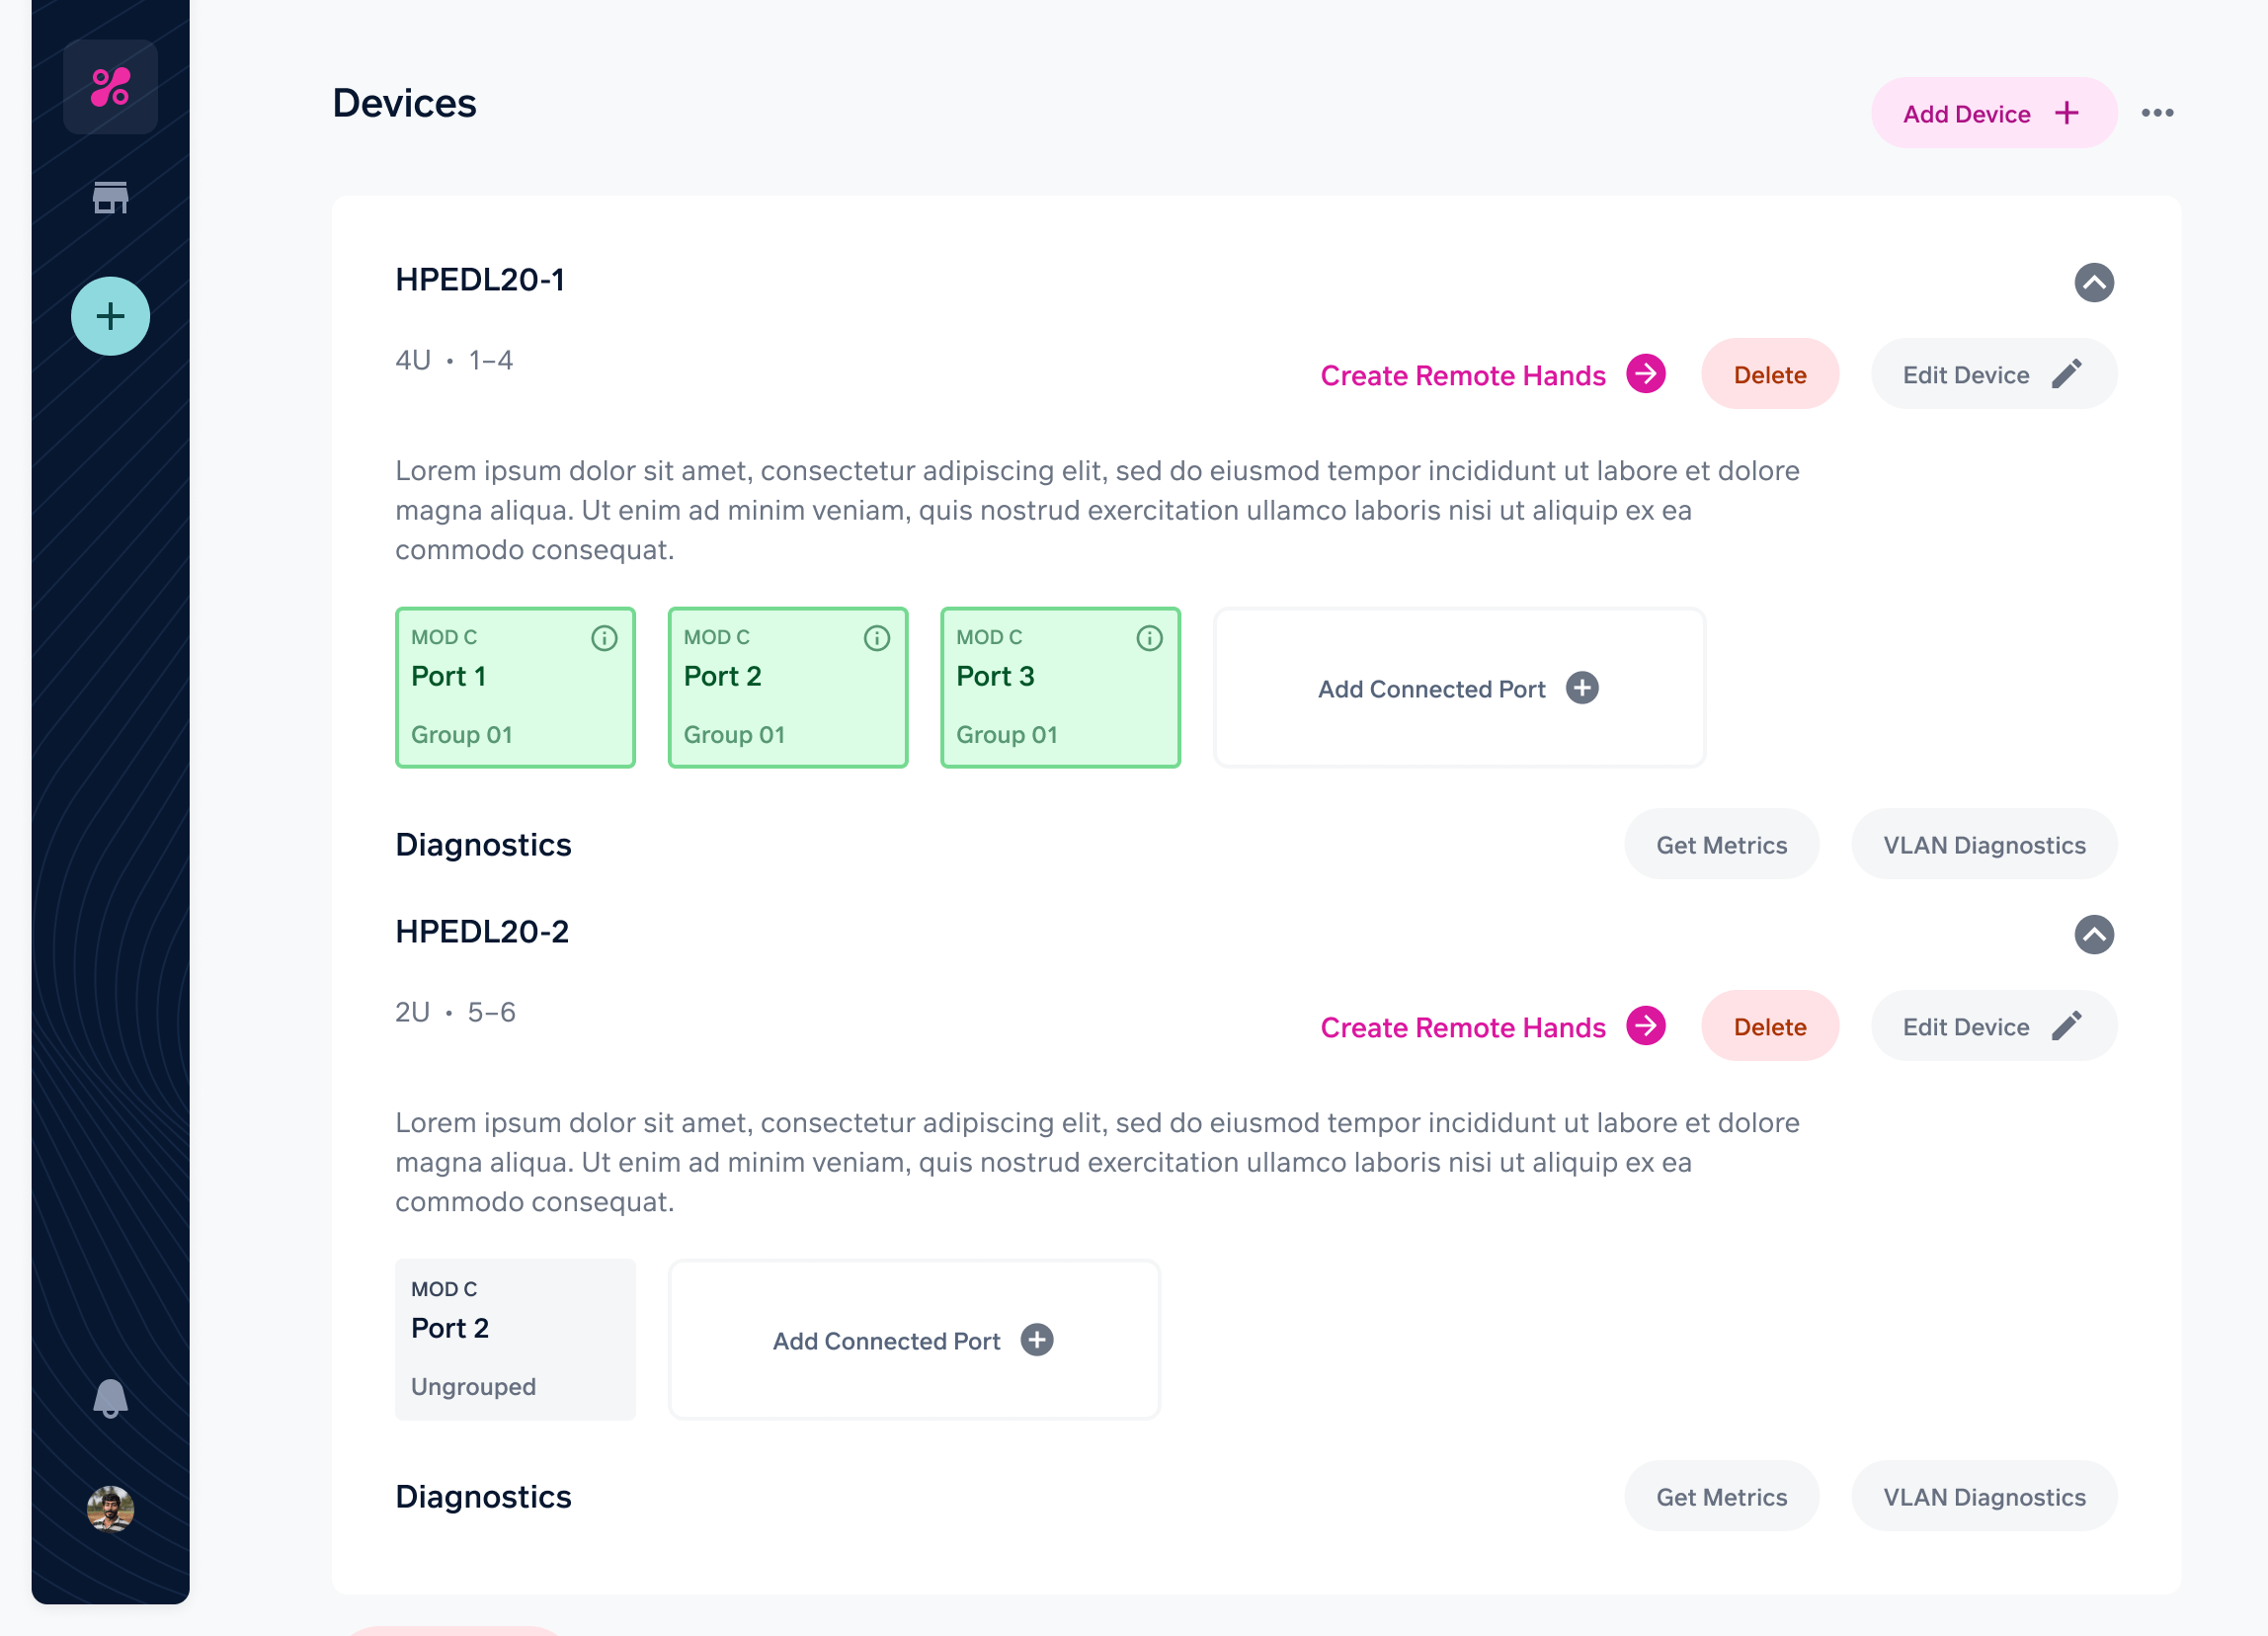
See installed devices and their port associations quickly
Using Remote Hands to install a device
If you can’t get to the data center, or you want us to physically install a device into your cabinet for you, select the Create Remote Hands link to raise a ticket with all the details.
For more information on using Remote Hands, see Creating a Ticket.
Managing access
Granting access to new users
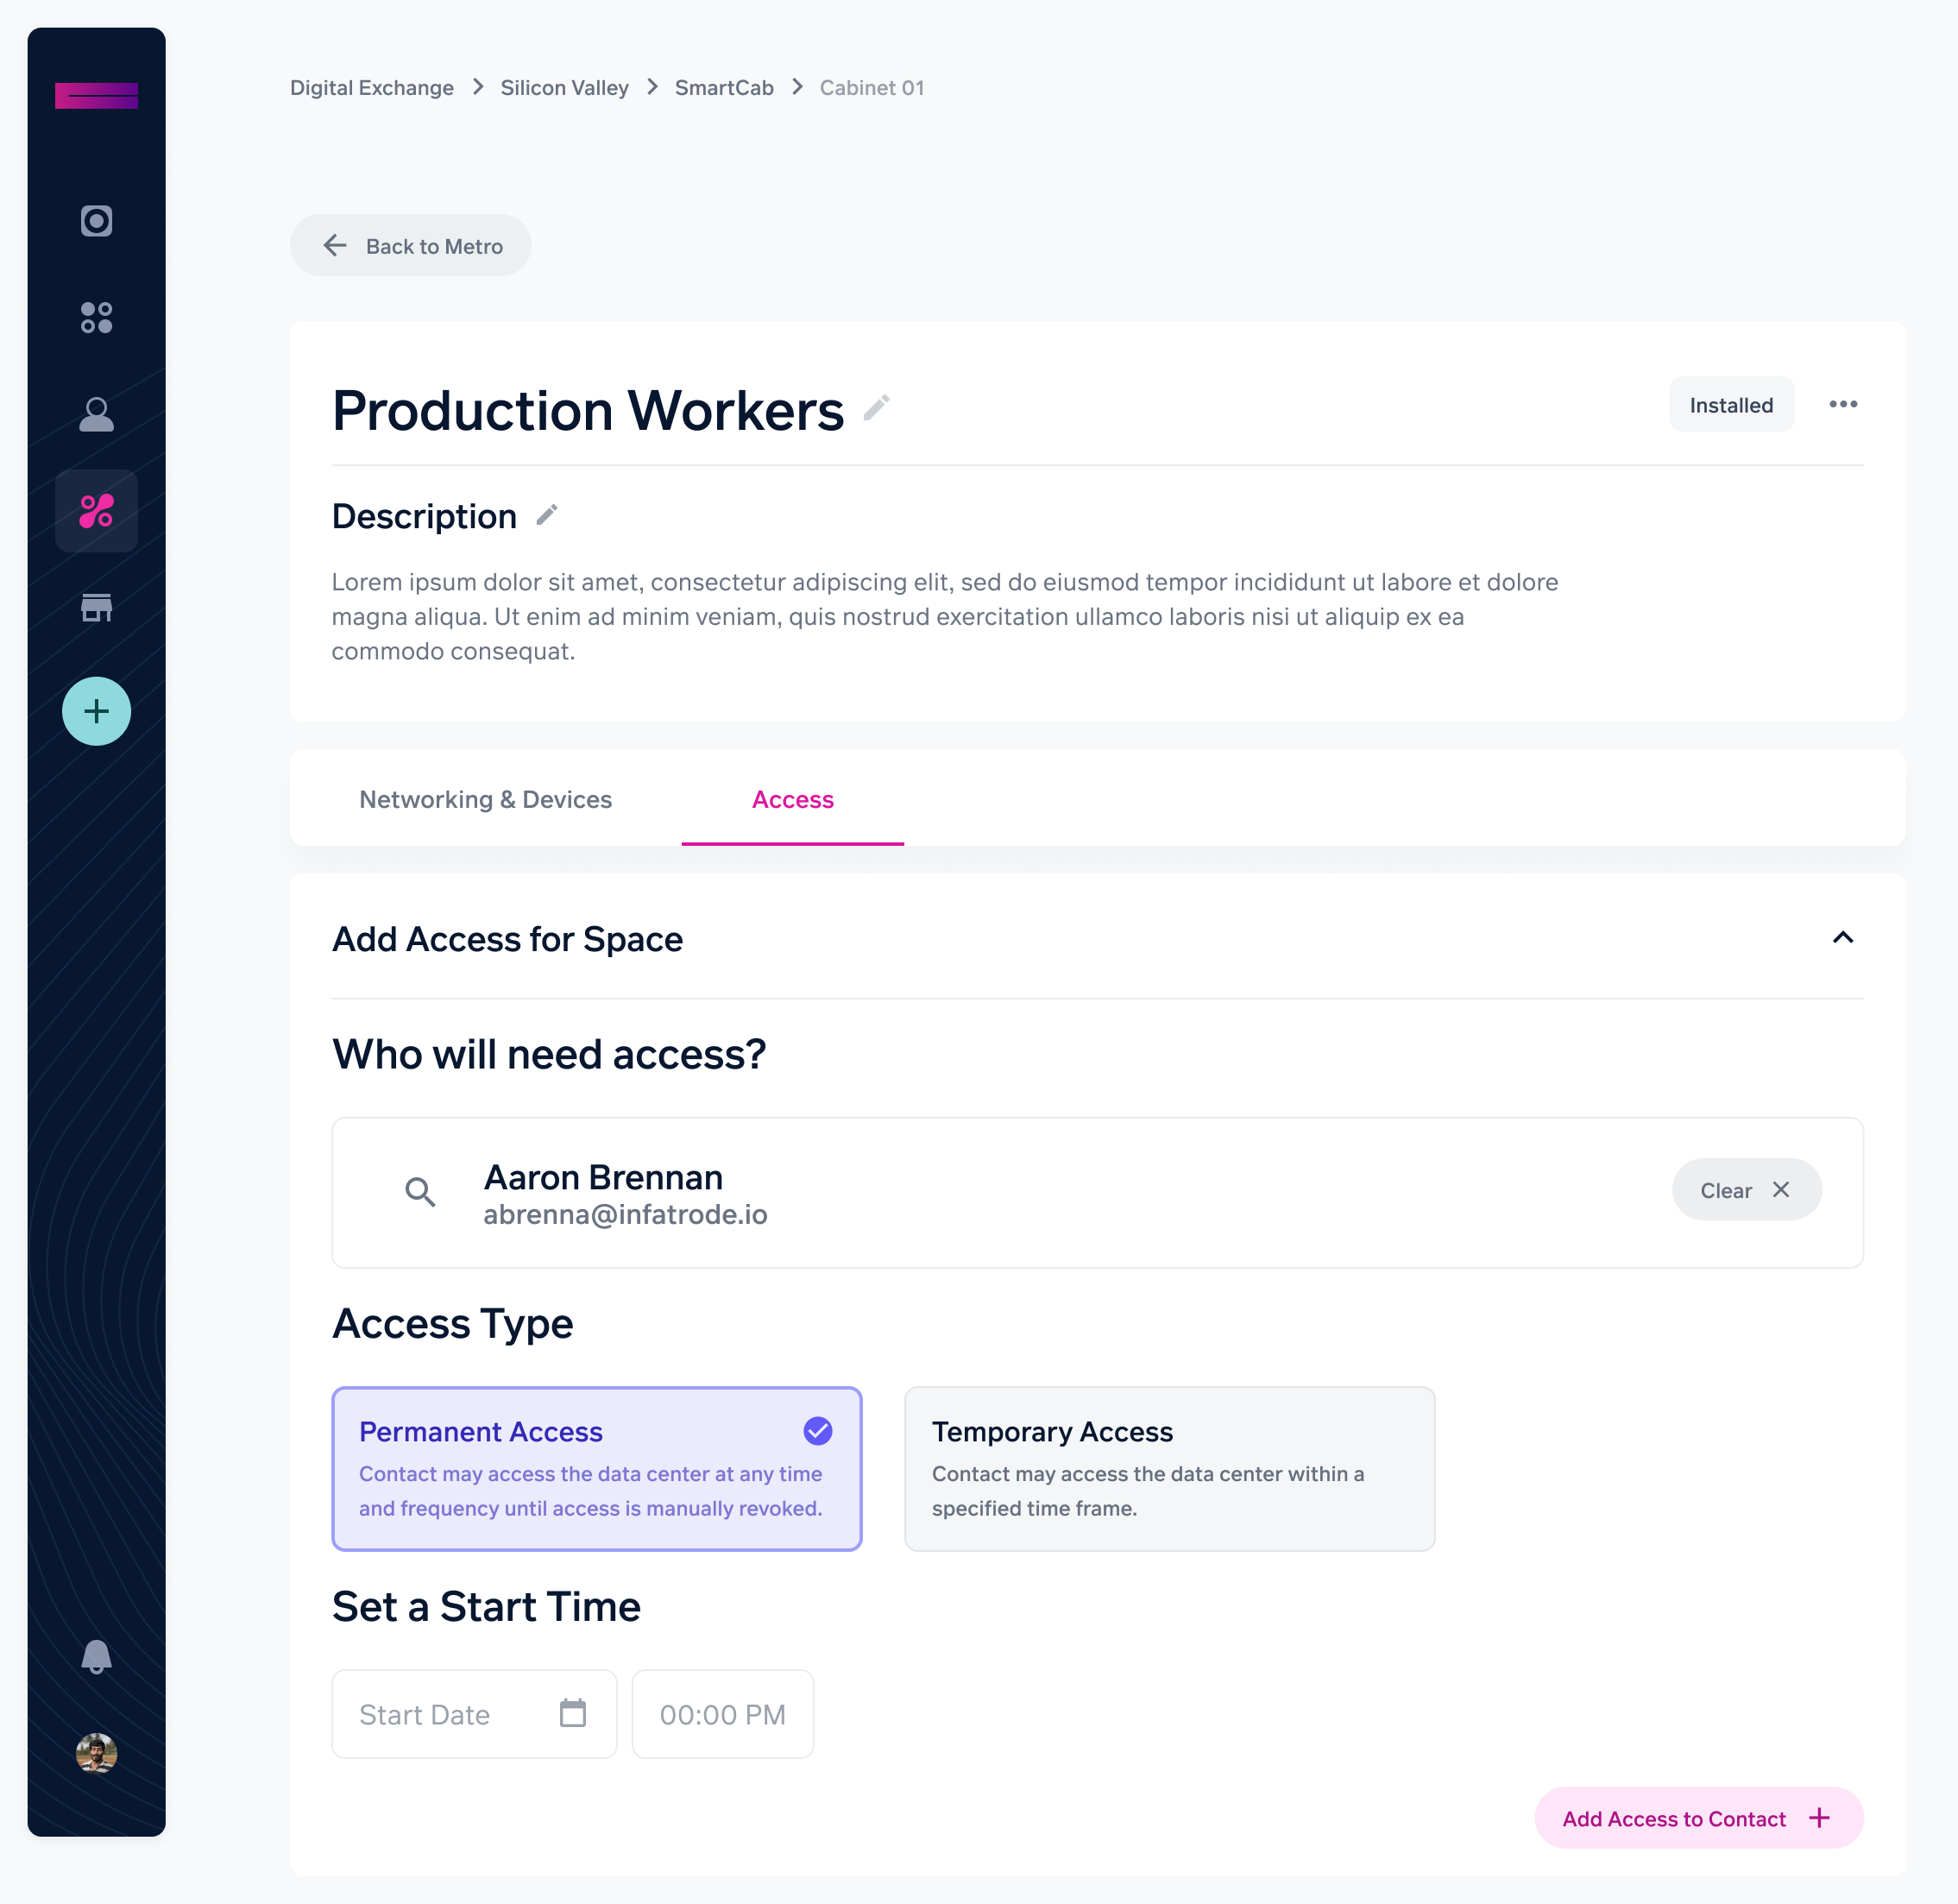
Use the Access tab to manage who is allowed to access your smart cabinet in the data center.
- To grant access, first select the person (they will need to have a Cyxtera account). You can search for them in the search box.
- Choose whether they should be given permanent or temporary access, and the start date
- Select "Add Access to Contact".
Managing authorized access
On the Access tab for each SmartCab, you can also see:
- Details of badge-enabled access to the cabinet, including the date, time and which card reader they used.
- A list of all active authorization to access the cabinet.
- Names and status of any authorized visitors to the cabinet.
In each of these sections you can scroll through the records, or use the search box to find a specific record—by badge ID or contact name in the Badge Access log, or for a particular AAR number in the Active Access Authorization section.
You can also filter the records, and export them to a CSV or Excel file. If filters are applied when you press Export, only the filtered records are exported.
There’s more information about managing access to all your data center spaces in the Grant Data Center Access article.
Updated 7 months ago