
Digital Exchange Port Activation Guide
This guide provides the high-level steps to activate a Digital Exchange Port service.
Step 1: Set up Digital Exchange access in Cyxtera Command Center
Digital Exchange services are managed in Command Center. In order to access the Digital Exchange, you must have Customer Admin or Digital Exchange Provisioner access in Command Center. The Customer Admin for your account will need to ensure they have created a contact record for the Network Administration/Engineer/Technical Contact that will be configuring and managing your Digital Exchange services in the portal and assign this.
Step 2: Ensure all physical connections are completed
Once the Cyxtera Implementation Services team confirms the completed installation of the Exchange Port, you will need to establish a connection between the Cyxtera Network Panel within your colocation environment and your device. Cyxtera can complete this connection for you, if desired, via a Remote Hands request.
Note
Exchange Port utilizes single mode fiber with LC connectors. Cyxtera recommends that the handoff to your device also utilize single mode fiber (1310 nm wavelengths) with LC connectors. Media convertors are NOT recommended.
If you intend to use your Exchange Port to support multiple services and VLANs, please ensure your device is configured for VLAN tagging.

Once all physical connections are established, the Exchange Port will need to be logically configured and activated in the Digital Exchange.
Note
You will not see light on the connection until the port is activated within the Cyxtera Portal.
Step 3: Activate Exchange Port
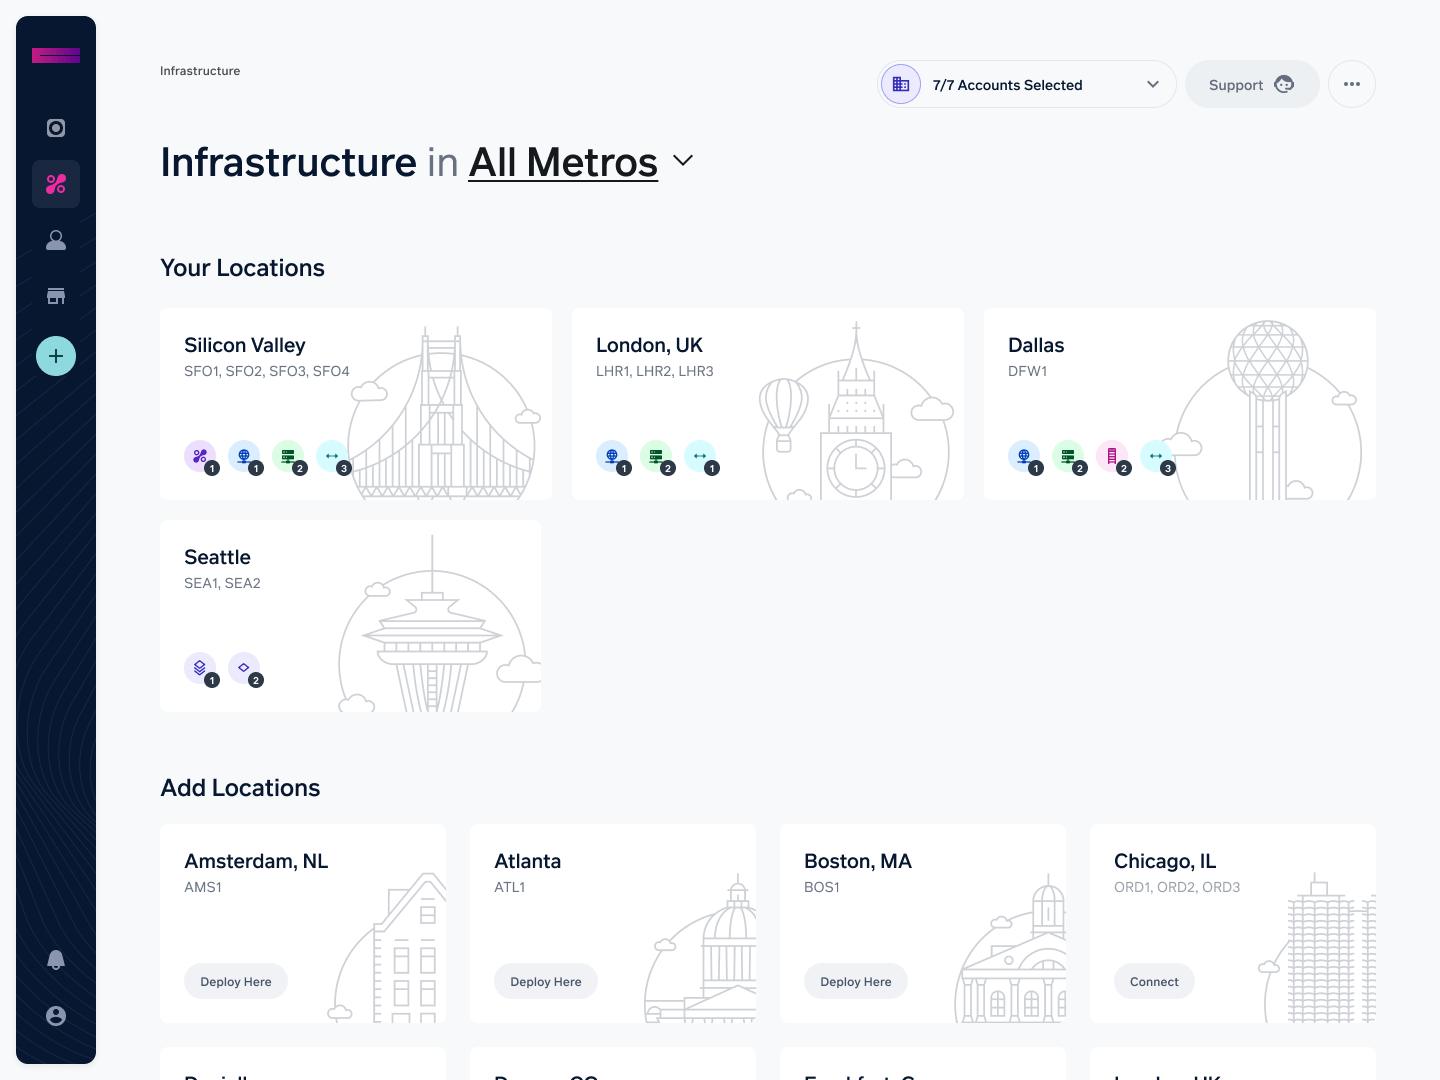
- Navigate to the metro location from the Infrastructure page found the navigation bar of the app.
- Click on the Exchange Port you wish to activate.

- Complete the activation of the Exchange Port by selecting the Port Networking Type. For more information on port networking types, please see Exchange Port Configuration Options.

- Optional: Select the “Use Native VLAN” checkbox if you do not want to use 802.1Q VLAN trunks across the Exchange Port. Otherwise, you are able to associate VLANs after the Exchange Port has been activated.

- Optional: Bind the Exchange Port to Virtual Networks, Virtual Network Groups, or IP Connects.
- Select “Activate” to complete the activation process.
Note
The Exchange Port side banner color will change from Orange to Grey once the service is provisioned and activated.
Need Help? Check out the Knowledge Base
Cyxtera has a series of Knowledge articles to aid you in the configuration and management of your services. Refer to the Knowledge Base for more information. If you need additional support, contact Cyxtera Customer Support via a request within the app or reach out to your Sales Engineer.
- Open the App Menu by selecting the ellipse in the header of Command Center.
- Select Knowledge Base.
- Select Digital Exchange.

Updated 9 months ago