
Manage Virtual Networks
Virtual networks give you an easy way to connect Exchange Ports, compute node groups, and IP Connect services together. For example, if you wanted to share traffic between three Compute Node Groups to a Digital Exchange Port and IP Connect, a virtual network is the easiest way to achieve that.
You can also create a VLAN Trunk Group, so you can manage them more easily. For example, you could change the configuration of all the networks in the group at the same time, so you don’t have to modify each one separately. You might choose to trunk groups that logically align with your environment, for example having a network group for production and another for staging.
Virtual networks can only connect resources within the same Digital Exchange metro and BAN. In this article, we will show you how to create virtual networks and virtual network groups.
Create a Virtual Network
When you create a virtual network, the entities you connect to it go into a “configuring” state until the network setup has been completed. During that time, those resources cannot be edited.
To create a virtual network, follow these steps:
- Sign in to Command Center.
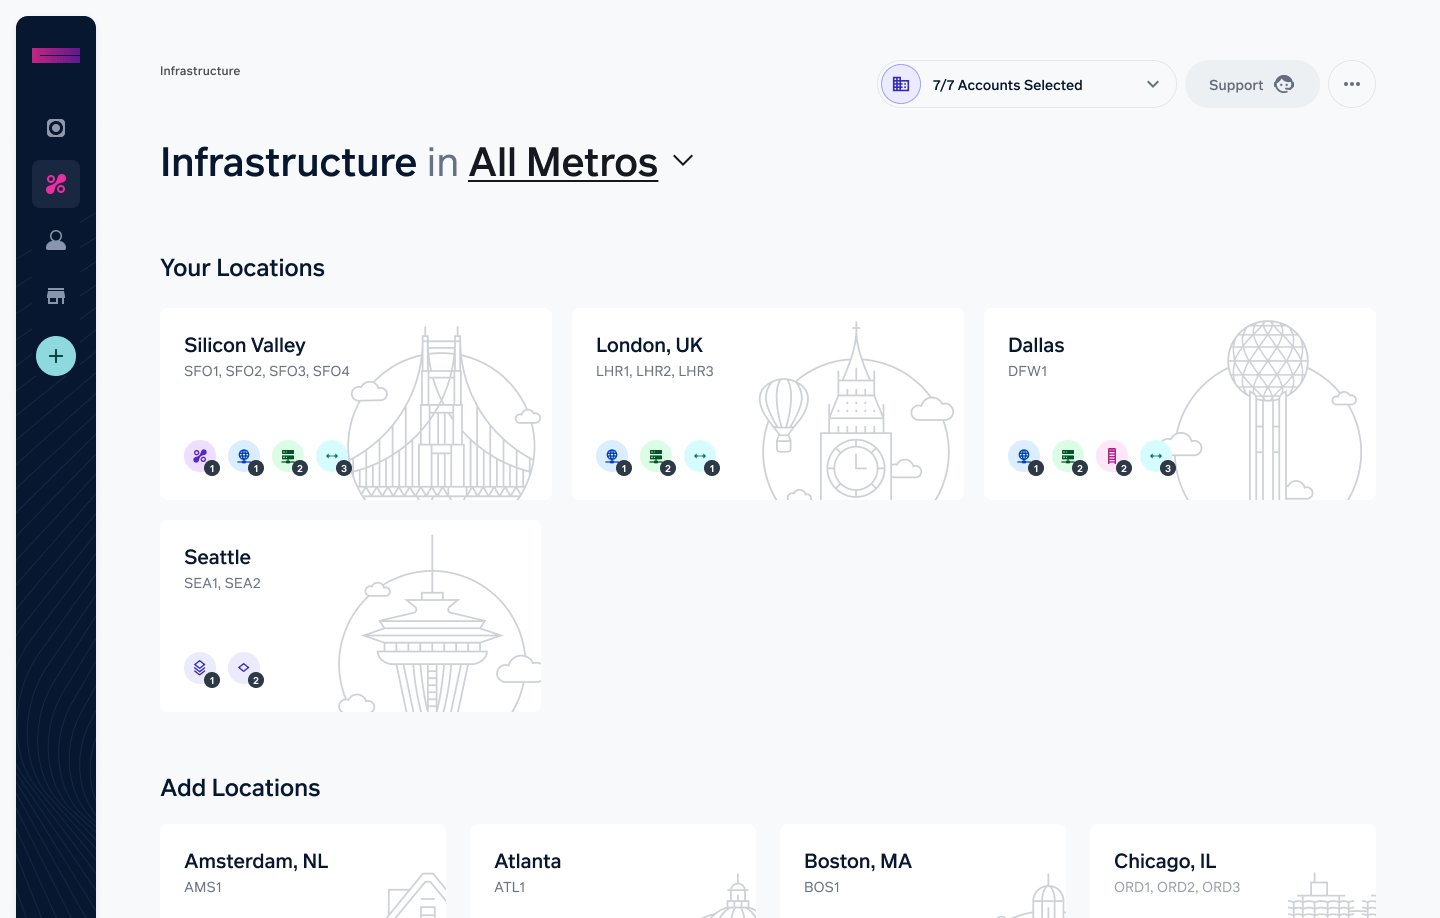
- On the navbar on the left, select Infrastructure.
- Choose one of your locations, shown at the top of the screen.

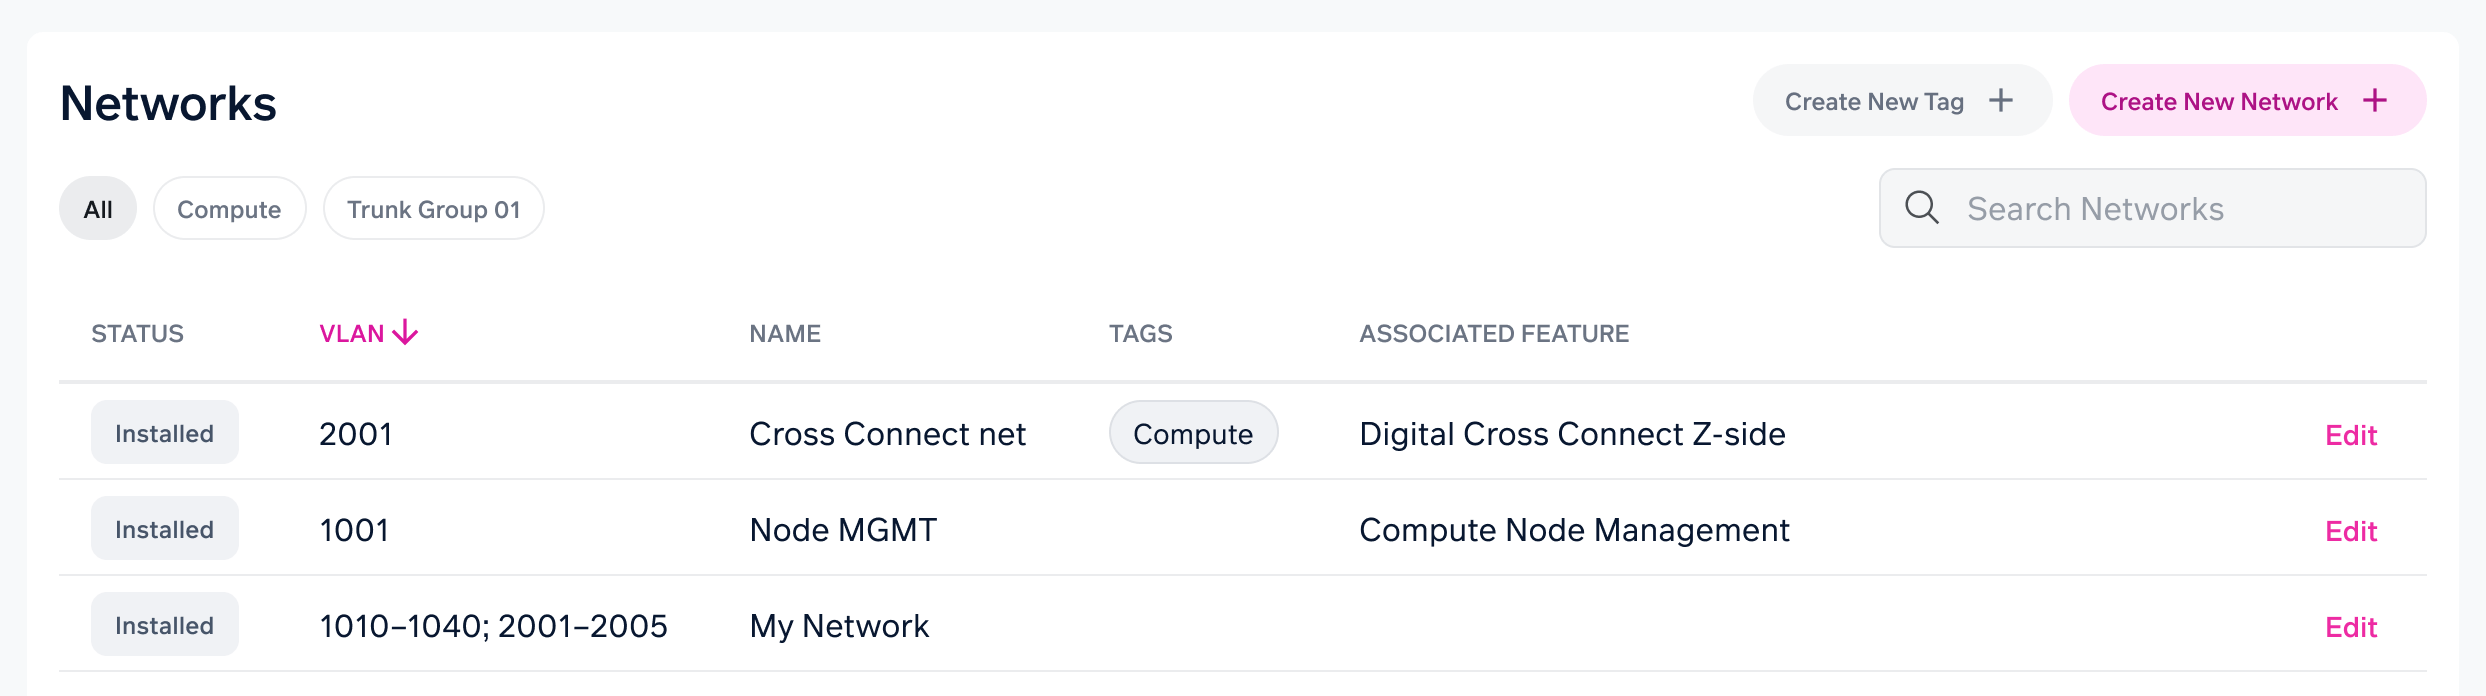
- On the metro dashboard, select the Connectivity tab. Scroll to the Networks section. Choose Create New Network on the right.
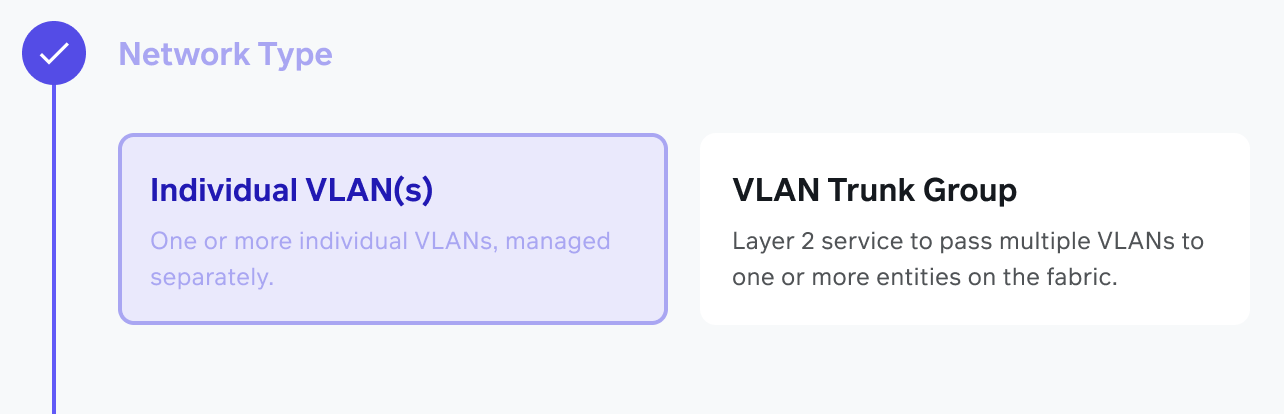
- Select Network Type: Our network fabric offers two types of virtual networks:
- Individual virtual networks act as independent VLANs and may be associated with any resource on the fabric.
- VLAN Trunk Groups are composed of ranges of VLANs (e.g. 101–201; 320–360) and are always assigned together as one unit. These are strictly Layer 2 networks and cannot be associated with IP Connect with ANS or Compute Node Management networks. VLAN Trunk Groups are useful for easily managing a larger number of VLANs efficiently and in a scalable manner.
- If you want to create a single network, enter its Name and a VLAN number. The VLAN number must be in the range from 1 to 4094 and not already associated with a VLAN in your account.
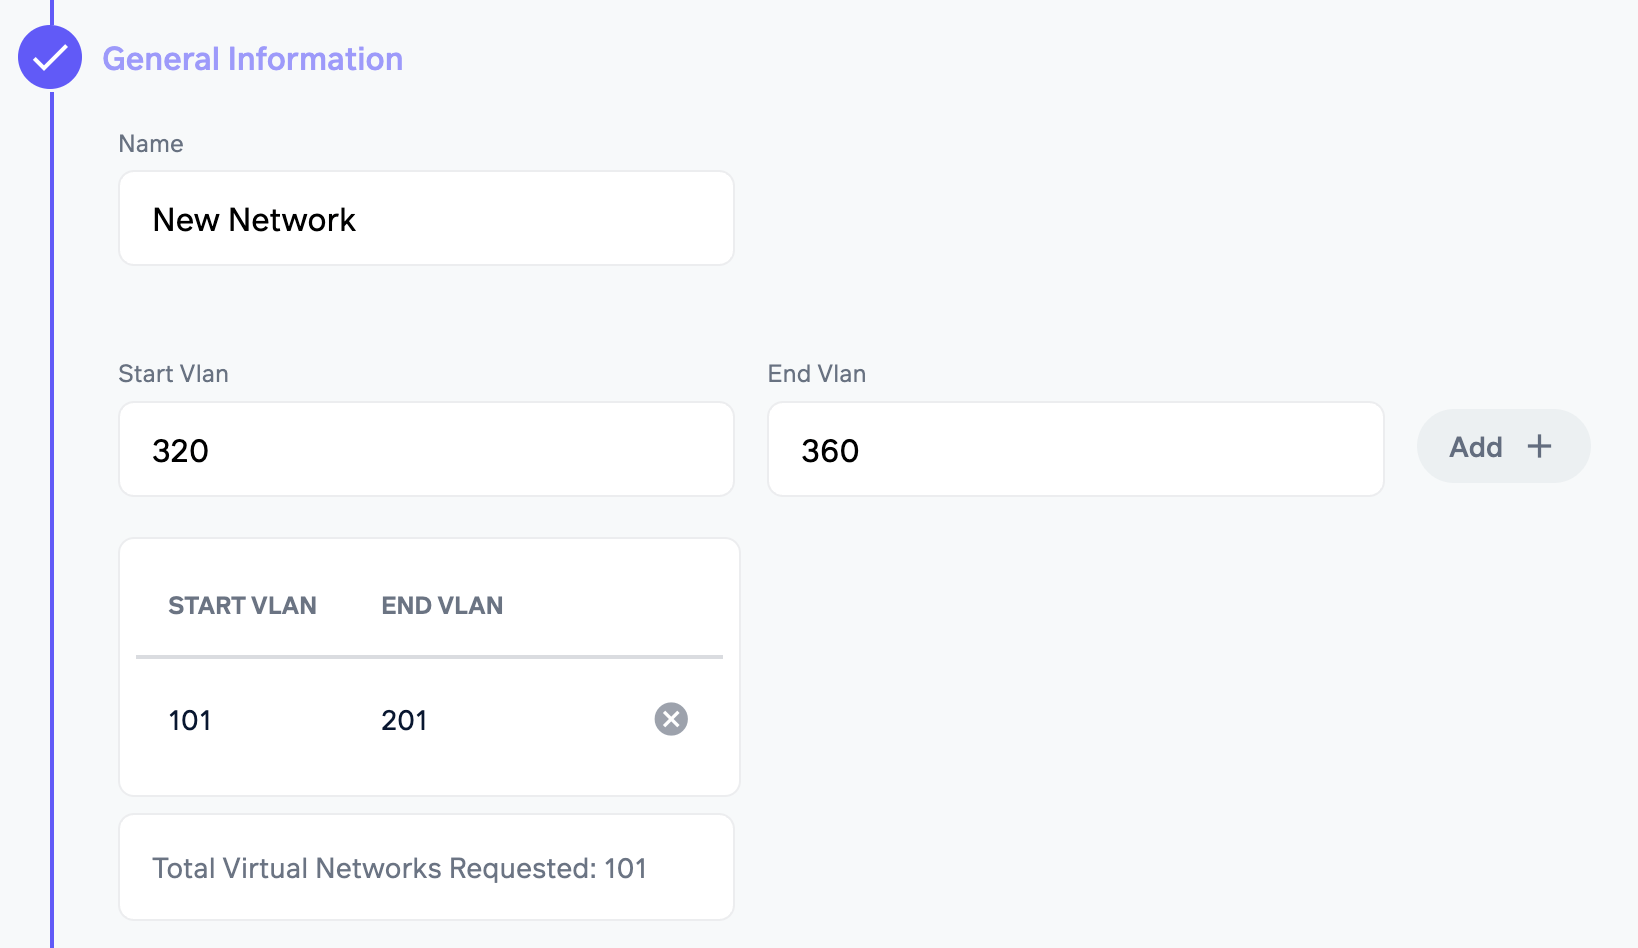
- If you want to create a VLAN Trunk Group, choose that option and proceed to define one or more ranges by entering the start and end VLANs for each range, selecting "Add" for each range.
- Choose the Exchange Ports and Compute Node Groups you want to use with this network. If you bind your new network to a virtual network group, the new network joins that group.

- Select Create Network. You’ll see a confirmation that the network is being provisioned. When it has been provisioned, it will show as “Installed” in the table.
Create a virtual network tag
The process for creating a virtual network group is similar to the process for creating a virtual network. Follow these steps:
- Sign in to Command Center.
- On the navbar on the left, select Infrastructure.
- Choose one of your locations, shown at the top of the screen.
- On the metro dashboard, select the Connectivity tab. Scroll to the Networks section. Choose Create New Tag on the right.
- Enter a name for the tag.
- Use the search box on to find virtual networks to include in this new tag. Select them and choose "Bind VLANs".
- Choose any Exchange Ports, IP Connects, and Compute Node Groups you want to associate with your new tag.

- Select the Save button. You’ll see a confirmation that your tag is being provisioned.

- When your new network tag has been provisioned, you can see it in Digital Exchange.

Updated 10 months ago