Order New Compute Nodes
Using the Cyxtera portal, you can provision a single, standalone compute node, a group of standalone nodes, or a cluster of compute nodes.
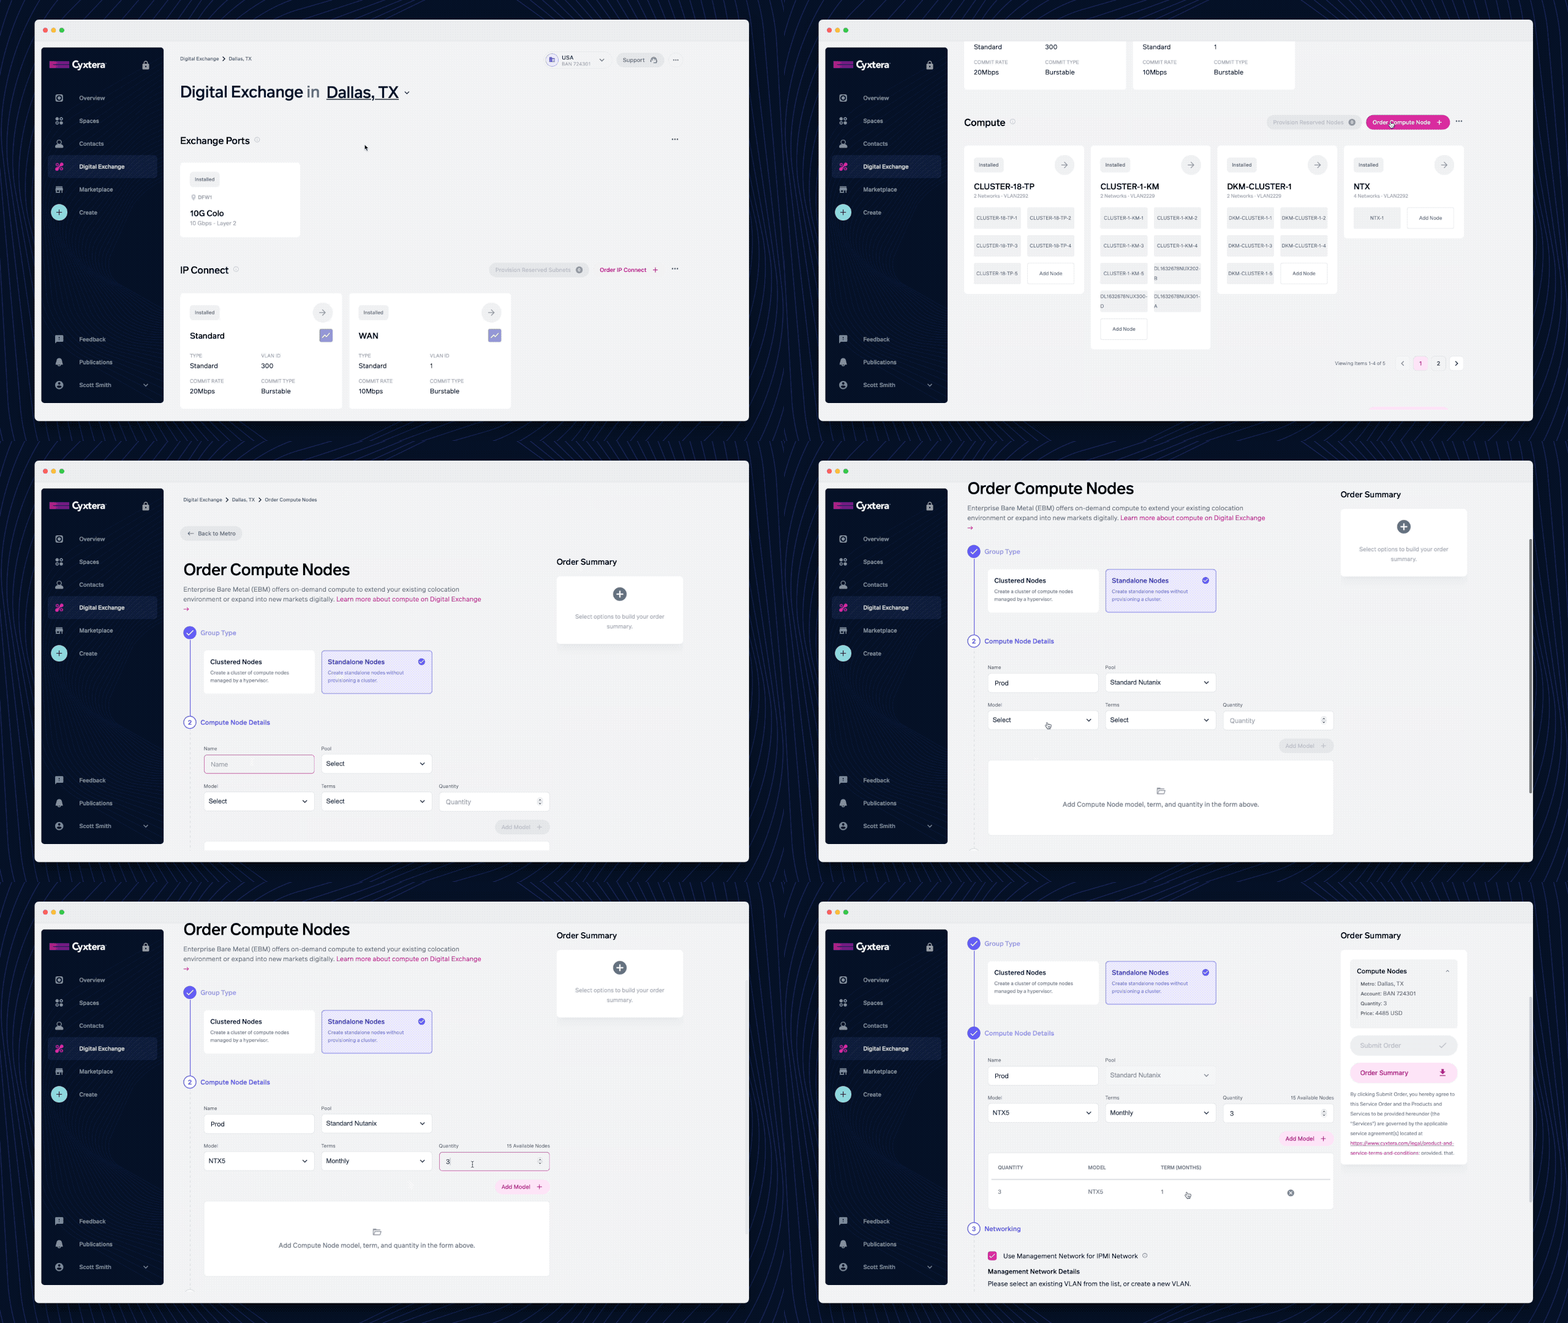
Standalone nodes. These are generally standard rack-mounted servers, but you can also choose to install a single Nutanix Hyperconverged Infrastructure (HCI) server. You can provision a number of standalone nodes into a node group.
Clustered nodes. We use Nutanix HCI to provision a cluster of compute nodes. All the nodes in a cluster will have the same model/specification, and they’re managed by a hypervisor. The minimum size for a cluster is three nodes.
Want to add new nodes to your existing compute group or cluster? Find out how to create or extend a node group or cluster.
Getting started
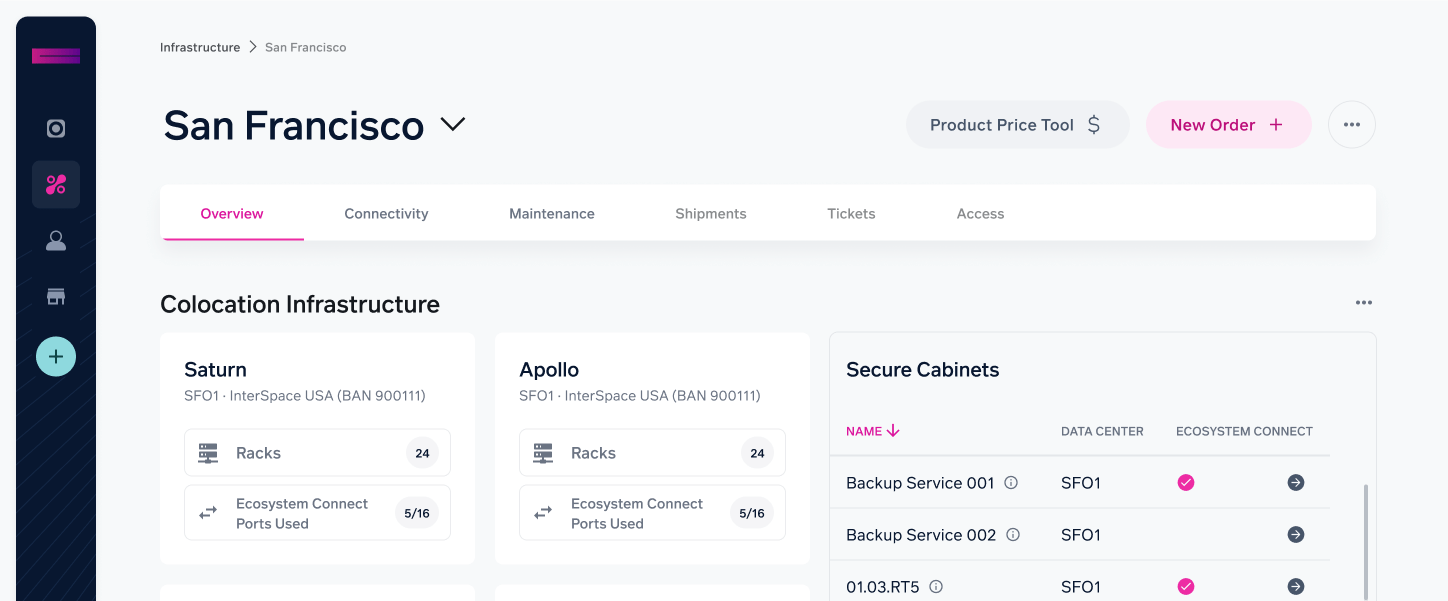
- In Command Center, head to the metro dashboard using your preferred method:
- From the Overview page, scroll down to the locations section and select the relevant Metro region.
- In the navbar, select Infrastructure and then the relevant Metro.
- Select "New Order" from the header of the dashboard, then select Digital Exchange.
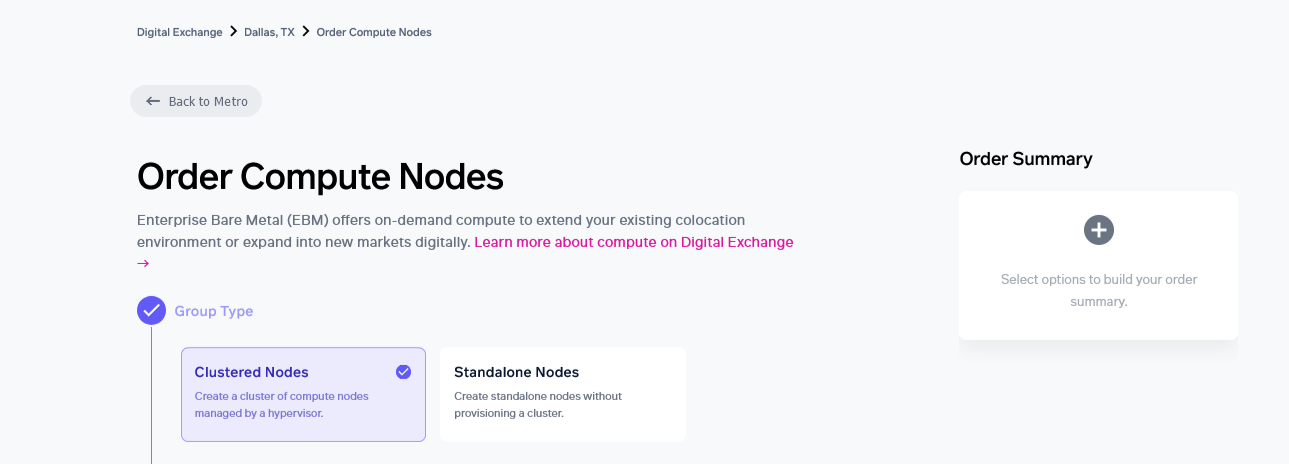
Order Compute Node form
As you complete your order, you’ll see a summary of your options appear on the right. Once you’ve completed all the required information, you’ll be able select Submit Order here.
1. Group Type
- Choose Clustered Nodes to create a group of compute nodes managed by a hypervisor.
- Choose Standalone Nodes to create one or more nodes, without provisioning a cluster
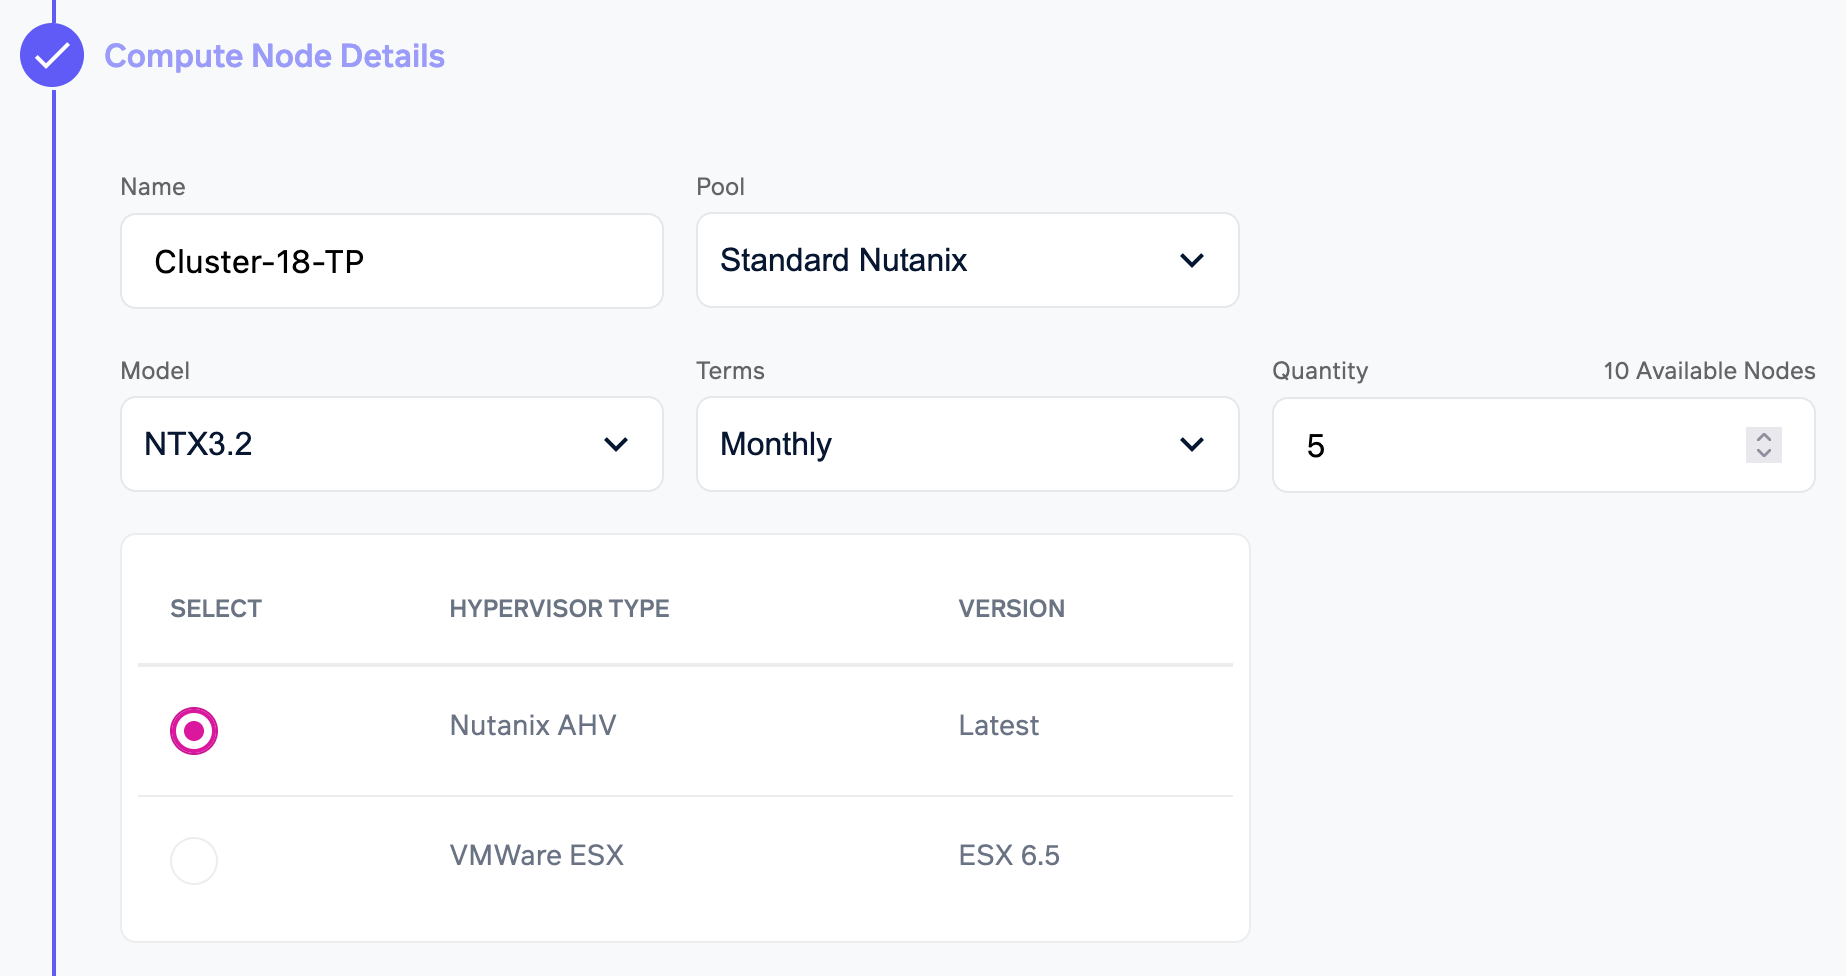
2. Compute Node Details
- Name. Use this to identify your node group or cluster – you might consider using a descriptive function or location.
- Pool. Groups of available EBM nodes, generally descriptive of a brand or type of node.
- Standard Nutanix: Nutanix NTX appliances or other servers specifically reserved for Nutanix-based deployments. They can only be used for Nutanix Hyperconverged Infrastructure deployments.
- Standard HPE: HPE DL-series rackmount servers. They can be used for general purpose computing or HCI.
- Model. Choose a model from the list – the number of available units is shown next to the Quantity field. In a cluster, all servers will be identical models. Information about each available model is available here.
- Quantity. The number of nodes you want to provision, either together in a cluster or as standalone servers. Note that three nodes is the minimum required to provision a Nutanix cluster.
- Terms. The length of contract you want to sign up for.
- Hypervisor (cluster only). You’ll see this if there’s a choice of hypervisor on the model you’ve chosen. Nutanix AHV is included in the cost of a cluster – if you choose VMware ESX you’ll need to arrange your own licensing.
- Add Model (standalone only). Use this button to add the selected model to the order. You can then choose and add as many standalone nodes as required using this method.
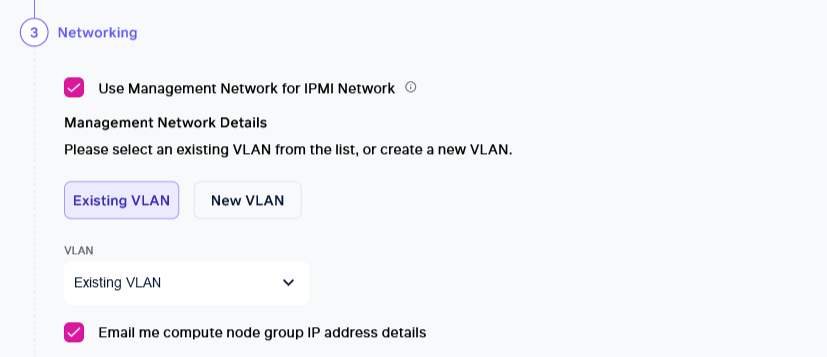
3a. Networking (for standalone nodes)
- Use Management Network for IPMI. This tells us to connect the out-of-band management interfaces (IPMI) of your new nodes to the same VLAN as the primary network interfaces.
- Management Network Details. Tell us how to connect the nodes’ network interfaces.
- Select Existing VLAN to use an existing VLAN and choose it from the list.
- Select New VLAN to create a new VLAN to use for the nodes’ primary interfaces. You’ll need to give it a name, and assign a VLAN ID (between 1 and 4094).
- IPMI Network Details. If you uncheck ‘Use Management Network for IPMI’, you’ll need to tell us which network to use for IPMI instead. Follow the guidelines for the list item above.
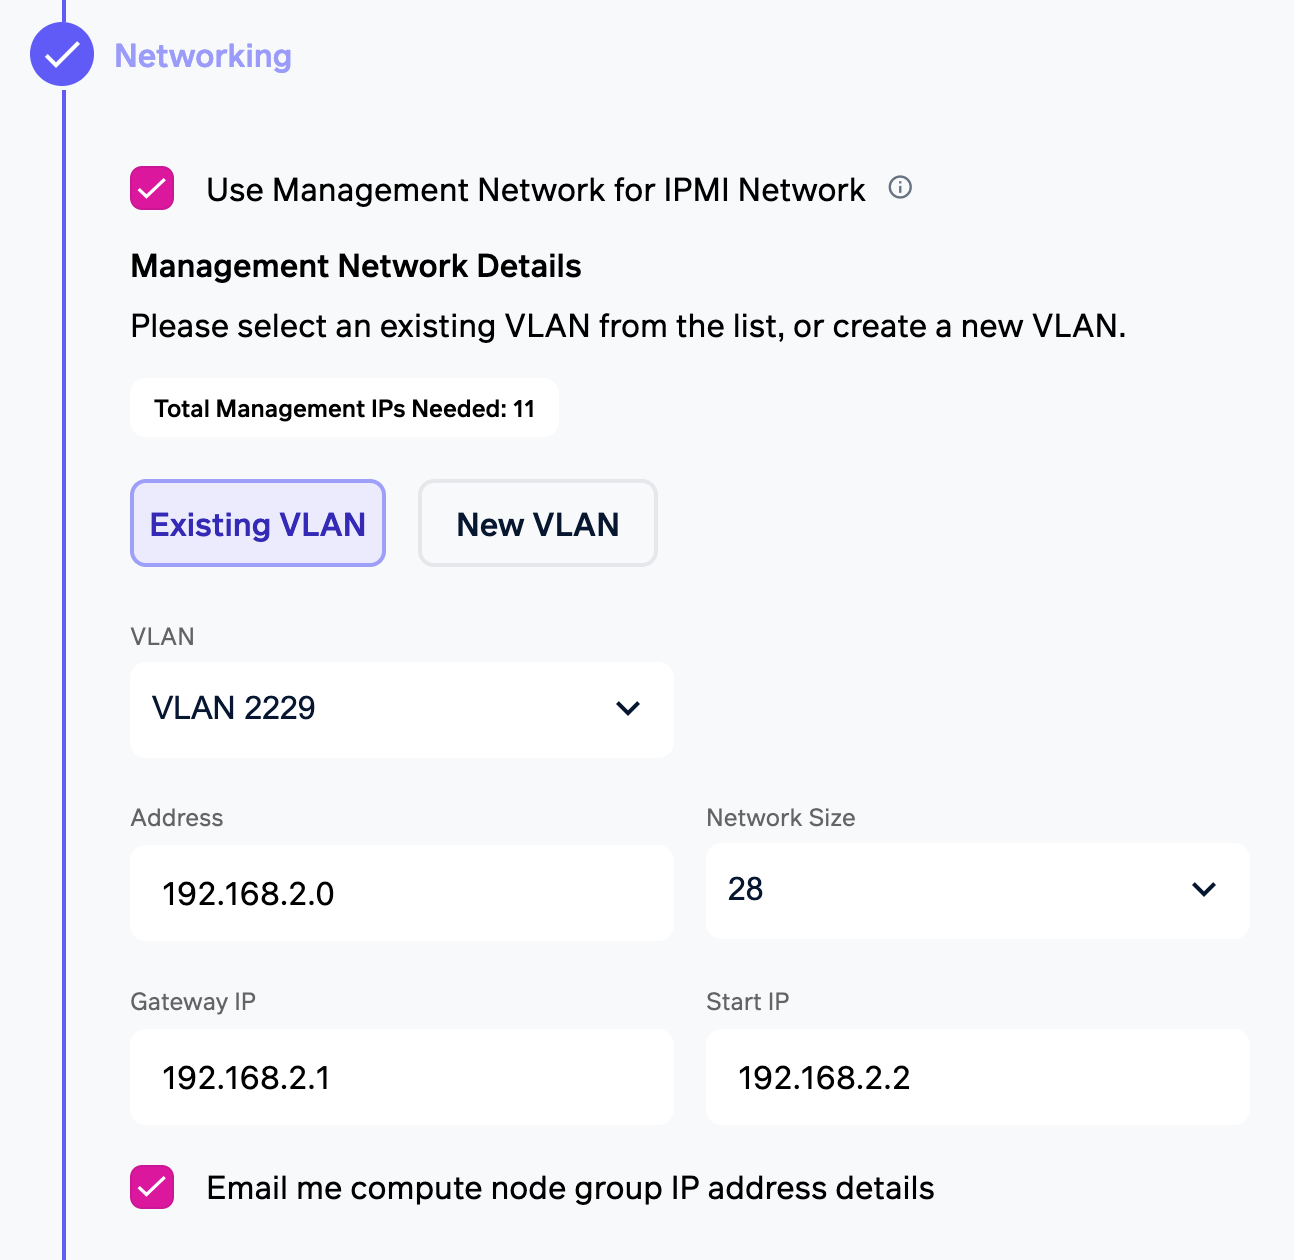
3b. Networking (for clustered nodes)
These settings are difficult to change later, so think carefully about your planned network setup before completing this section.
- Use Management Network for IPMI. This tells us to connect the out-of-band management interfaces (IPMI) of your new nodes to the same VLAN as the primary network interfaces.
- Management Network Details. Tell us how to connect the nodes’ network interfaces.
- Select Existing VLAN to use an existing VLAN and choose it from the list.
- Select New VLAN to create a new VLAN to use for the nodes’ primary interfaces. You’ll need to give it a name, and assign a VLAN ID (between 1 and 4094).
- Address. Enter a valid private subnet in this box and the EBM provisioning process will allocate the appropriate number of IP addresses from the network. The system will reserve:
- Three IP addresses per node (two per node if IPMI is on a separate network)
- One IP address for the cluster
- One IP address for the provisioning system (temporary)
- Network Size. Select the subnet size from the dropdown to apply the subnet mask for the network.
- Gateway IP. The IP address of the default gateway for this subnet.
- Start IP. The first IP available for use by compute nodes in this subnet. Note that the provisioning process requires contiguous space for the addresses.
- IPMI Network Details. If you uncheck ‘Use Management Network for IPMI’, you’ll need to tell us which network to use for IPMI instead. Follow the guidelines for the similar list items above.
Document IP Address Information
Please note, the system does not store any customer IP address information once provisioning is complete but you will receive an email with the IP address information as part of the provisioning process.
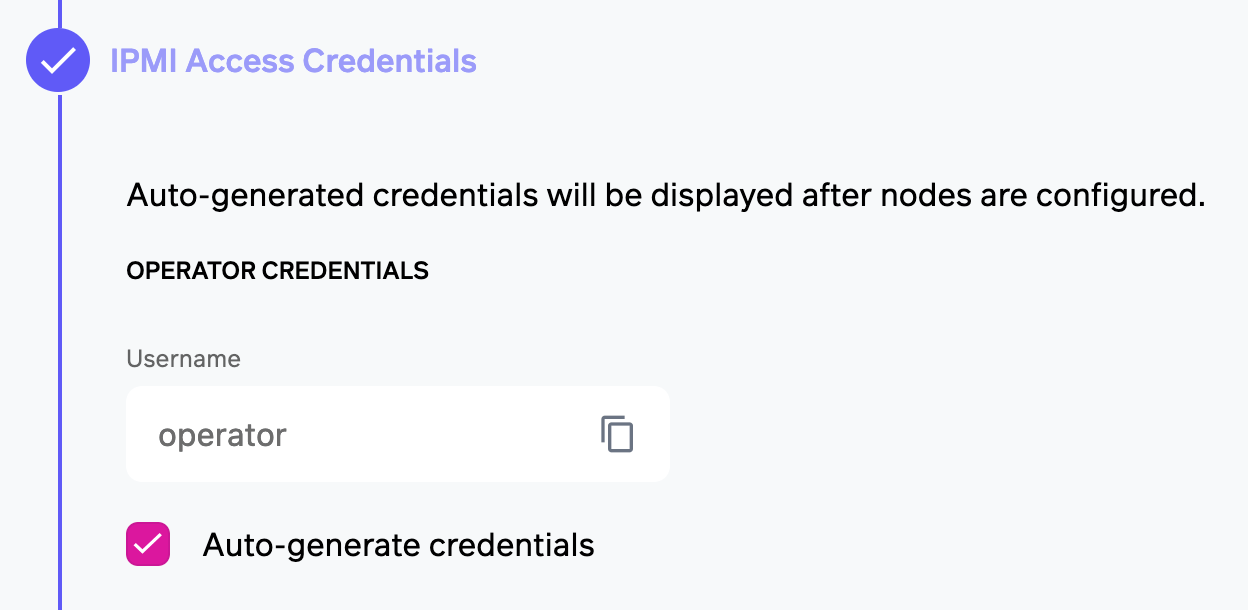
4. IPMI Access
In this section you can set the operator account password on the newly provisioned server. You can choose your own password, or leave "auto-generate credentials" checked and the password will be generated and can be found on the node group's page.
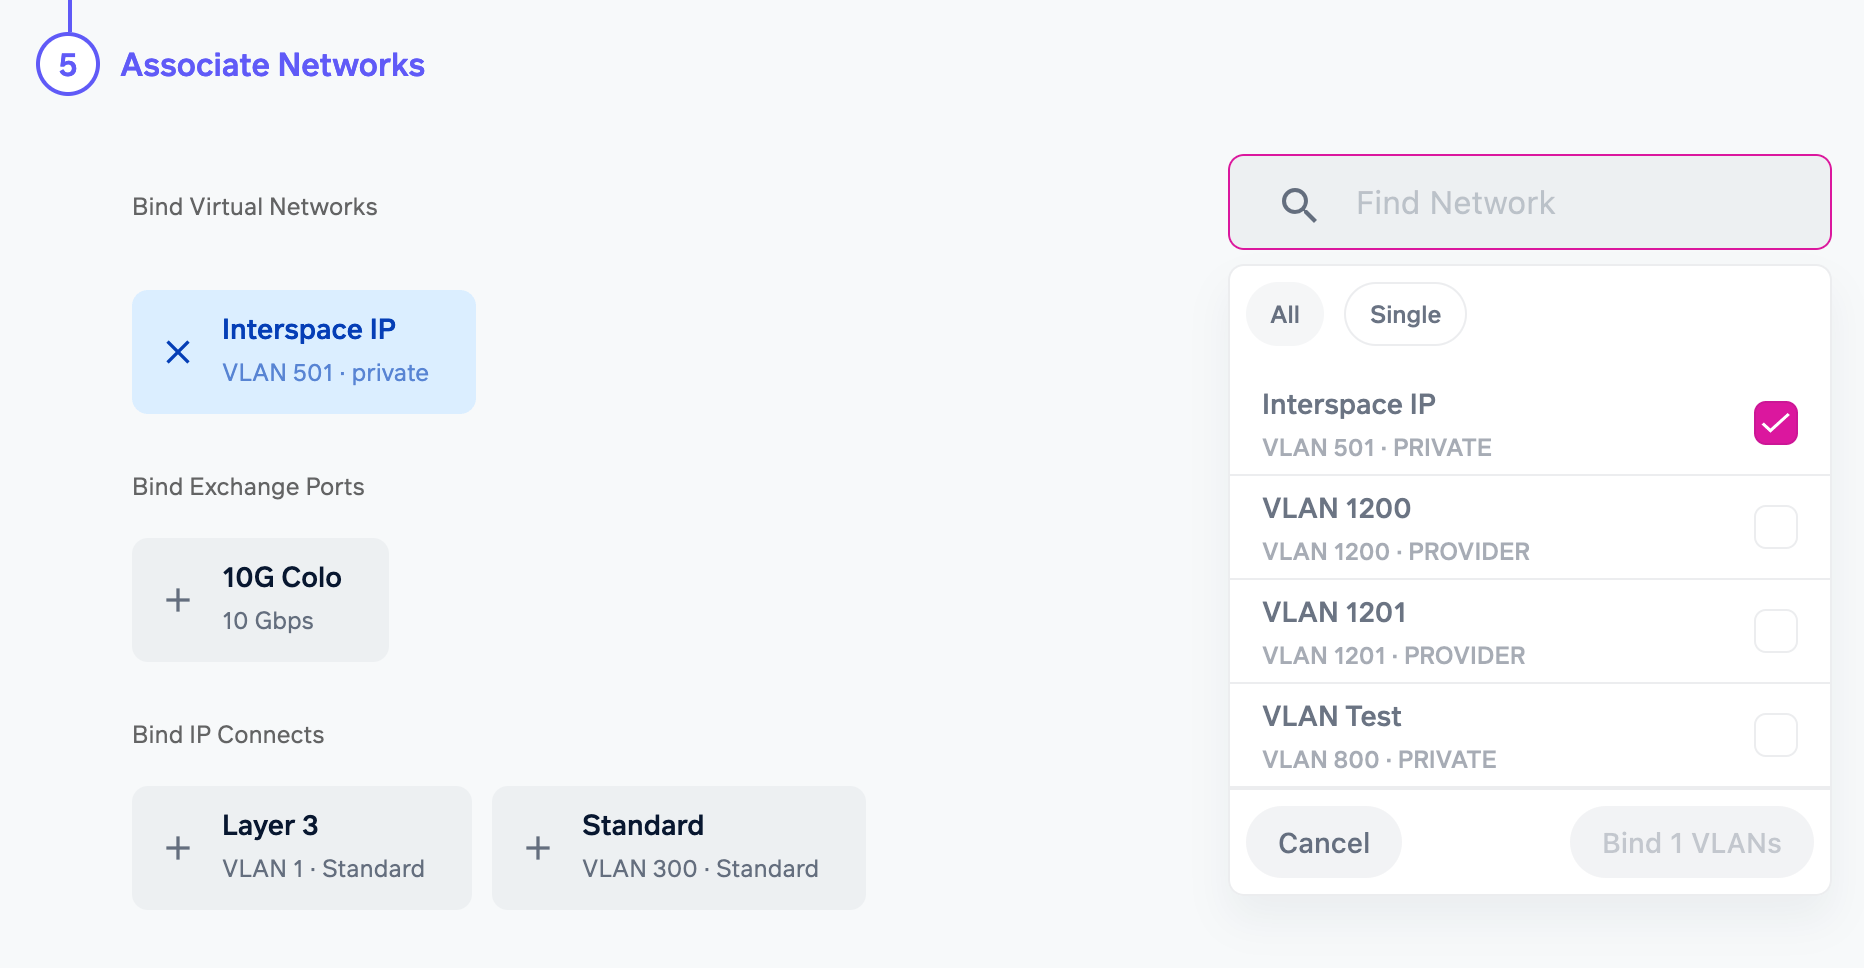
5. Associate Networks
- Bind Virtual Networks. Search and select any public or private virtual network you want to be connected to your new nodes. This traffic is sent as 802.1Q tagged traffic.
- Bind Exchange Ports / Bind IP Connect. All available connections are listed here. Select the ports and connection you want for your new nodes.
Submitting your order
Once you’ve completed all the form fields, check the Order Summary and select Submit Order.
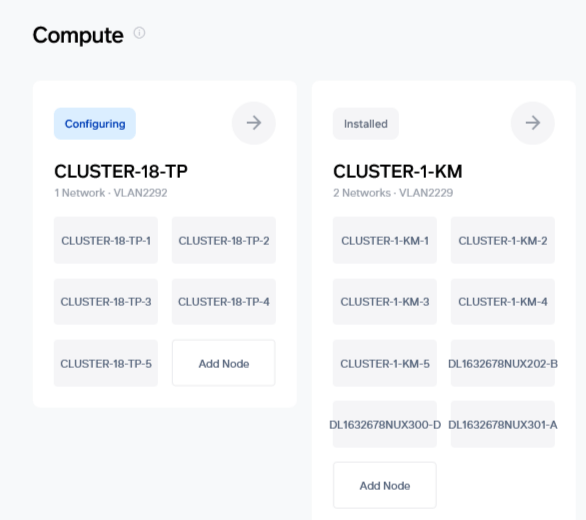
Back on the Compute summary screen, your new nodes will be shown as Configuring until they’re available to use (shown as Installed), usually within a few minutes.
Updated about 1 year ago