
Configure DHCP
Simplify the management of IP addresses with Dynamic Host Configuration Protocol (DHCP). It enables you to have IP addresses automatically assigned to your devices in a Layer 3 IP Connect network service.
IP Connect with Advanced Network Services (ANS) gives you internet connectivity with the ability to configure Layer 3 services. Using IP Connect with ANS, your devices connect to the internet through our router, so you don’t need to have your own. DHCP enables our router to automatically assign IP addresses to the devices on your network, so you do not need to manually track and assign IP addresses yourself.
You still have the option to allocate a static IP address for devices that require one.
Using DHCP to configure your network
To configure your network using DHCP, follow these steps:
- If you are already signed in, click Overview on the navbar on the left. If you are not signed in, sign in to Command Center.
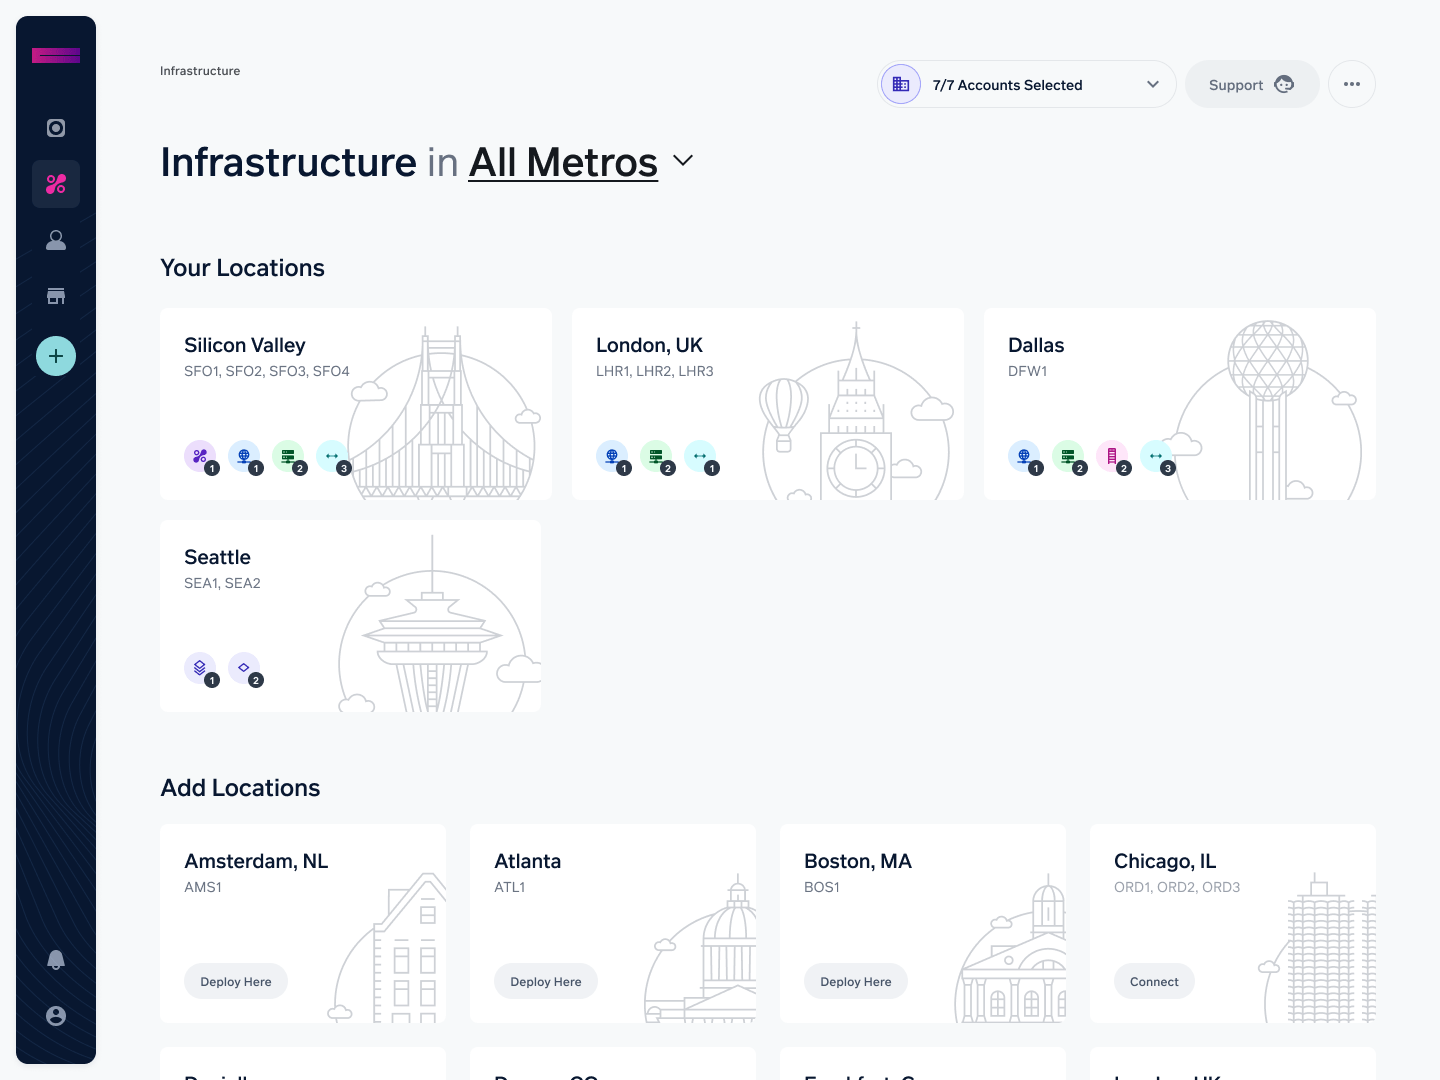
- In the Infrastructure section, choose one of your locations. Your locations show you how many IP Connect services they have.
- Select your account.
- In the IP Connect section, you can see the IP Connect services in this location. DHCP requires services with ANS, so you cannot use it with IP Connect Standard or IP Connect with BGP. Click an ANS service to select it.

- You now see a page with information about this IP Connect service. Scroll down to find the Network and DHCP sections.

- If you do not already have a network assigned to this IP Connect service, you will need to add one. In the Network part of the IP Connect page (shown in the previous set), click the Add Network button. You can add an existing virtual network you have already set up, or you can create a new virtual network and add it. In either case, you need to provide a starting IP address, and a network size of 27 to 20 if you intend to use DHCP. The network size is a subnet mask value, so smaller numbers have a larger number of IP addresses.

- Underneath the Network section is the DHCP section. Use the menu to select the network where you would like to use DHCP. DHCP is supported on a single network at a time.

- Enter the following details:
- Start IP address and End IP address: IP addresses will be dynamically allocated using DHCP, within this range. Both IP addresses must be in the range of usable IPs in this network. The valid range is shown on screen underneath the form fields and the valid minimum and maximum values are also shown as a prompt in each form field. The IP range chosen must result in an even number of IP addresses.
- Primary DNS, and optional secondary DNS and DNS suffix.
- Lease duration: This specifies how long a device reserves a particular IP address, and the default is 24 hours. You can change the lease duration to 1 week, 12 hours, or 2 hours.

- You can allocate up to 25 static IP addresses to devices on the network. Click Add New Static IP, and enter a name for the device, its Mac Address, and the static IP address you want to use.


- At the bottom of the page, click Save Changes.
Updated about 1 year ago