
Cloud Connect: Microsoft Azure
Using Cloud Connect on Digital Exchange and a Microsoft Azure ExpressRoute circuit, you can extend your Cyxtera virtual network to your Azure public cloud.
You can create a direct and private connection between your Cyxtera infrastructure and the Microsoft Azure public cloud. The service works with an Azure ExpressRoute circuit.
To connect a virtual network to Microsoft Azure, follow these steps:
- Sign in to Command Center.
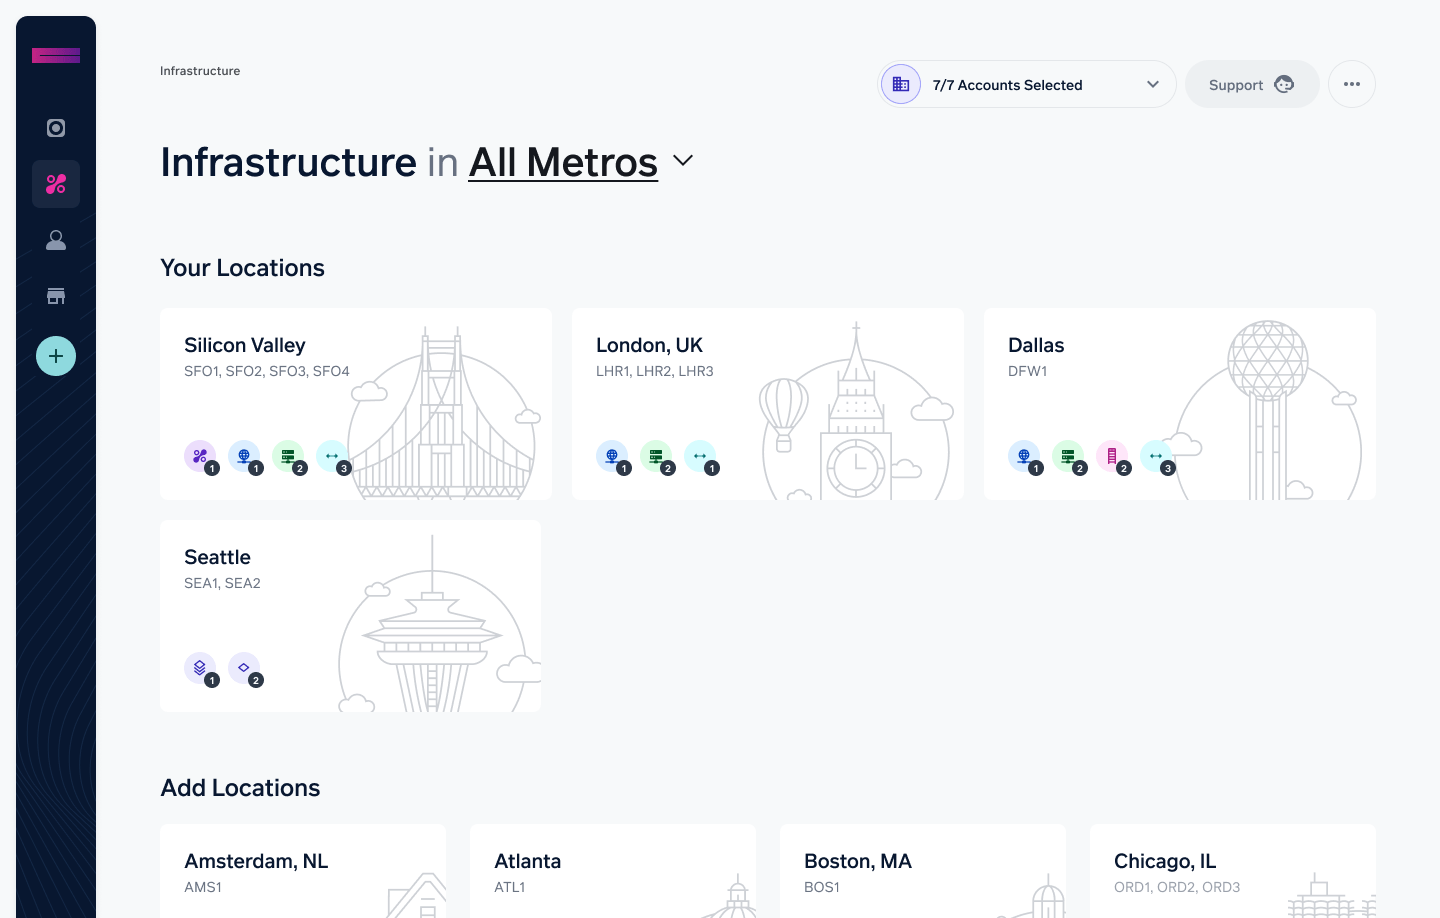
- On the navbar on the left, select Infrastructure.
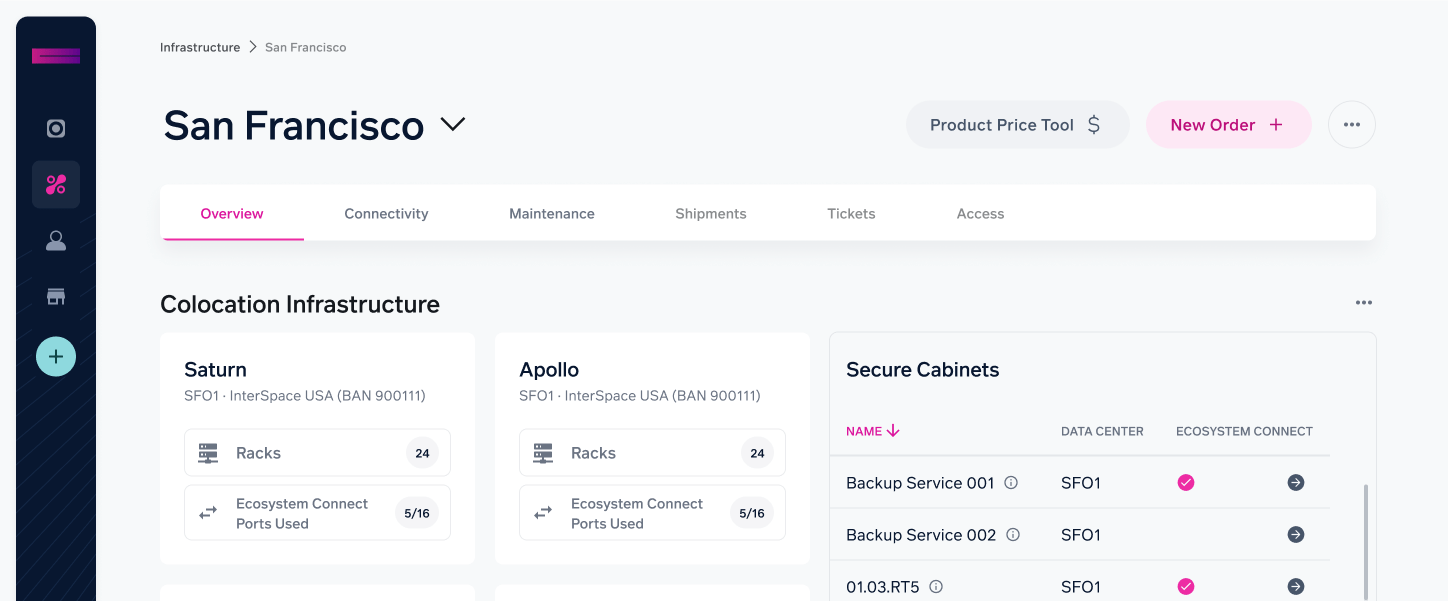
- Choose one of your locations, shown at the top of the screen.
- Select New Order in the top right.
- Select Connection from the product listing.
- In the Cloud Providers section, choose Microsoft Azure.

- Select the destination, which is the Azure region you want to connect to.
- Choose the bandwidth you require. When you change the bandwidth, you’ll see the price for this service change in the Order Summary in the top right.

- Before you can connect your Cyxtera infrastructure to Azure, you need to create an ExpressRoute circuit. You can create one in the Azure portal. Use the configuration options shown when you select "View Manual Set Up Steps" in the Configure Connection section.
When configuring the peering in Azure, be sure to configure VLAN 111 for private peering in the Azure console.
-
After you’ve created your ExpressRoute circuit, navigate to it and copy the service key for it. The service key uniquely identifies this ExpressRoute circuit, which we will use to make the connection from our side.
-
Back in the Cyxtera Command Center, you’re ready to set up your connection in the Configure Connection section:
a. Enter a name for this connection. It’s used to refer to this connection within the Cyxtera interface.
b. Enter your ExpressRoute service key. When you have entered the service key, select the Verify Service Key button to check it works.
c. Choose the Connection from the menu.

- Choose a virtual network to connect to Azure. If you want to use an existing virtual network, choose it from the Virtual Network menu. Otherwise, you can create a new virtual network from the page by selecting Create New.

- On the right, you’ll see a summary of your order. Select Checkout to finalize the order.
- You’ll see a confirmation that your order is being provisioned. You can see the connection by going to the Digital Exchange and choosing your connected location. The new Cloud Connect will be visible in the Connections section.
Updated 6 months ago