Use Aliases
Assign your own memorable names to account numbers, cages, racks, and Ecosystem Connect ports.
Simplify your data center management with aliases
To make it easier to manage your account and infrastructure, you can now create your own names for customer account numbers, cages, racks, and ecosystem connect ports.
You could choose names that match your applications, divisions, or geographies, for example. These names, called aliases, show up throughout the interface. They help to simplify common activities such as raising a support case, placing a cross connect order, or requesting a Remote Hands service.
Aliases are visible to all account users.
How to create an alias for a billing account number (BAN)
Your organization has a Billing Parent Identifier (BPID). Your BPID can have multiple Billing Account Numbers (BANs) under it. Separate BANs might be used, for example, for different divisions in your company.
Here’s how to change a BAN alias:
- Log in to the Cyxtera Portal. Any Customer Admin with portal access can see and change the alias associated with a BAN.
- From the Overview page, click to open the menu in the top right and select Edit Account
Aliases.
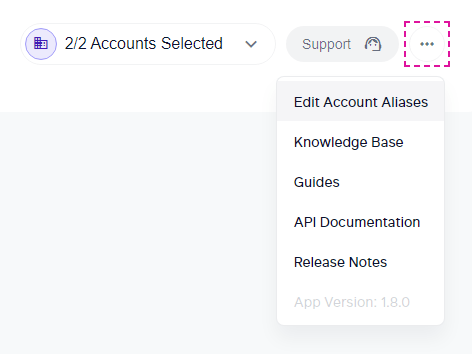
- In the Account Aliases options, you can set an account alias for each BAN or your BPID.
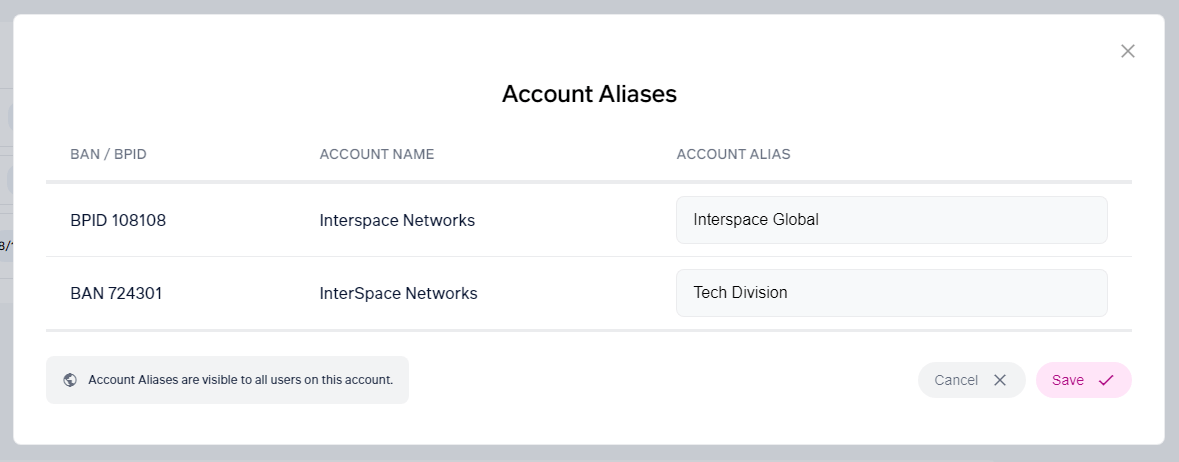
- Click Save.
- Your chosen alias is shown throughout the interface. For example, when you order a Cross Connect, the alias makes it much easier to place an order using the correct account.
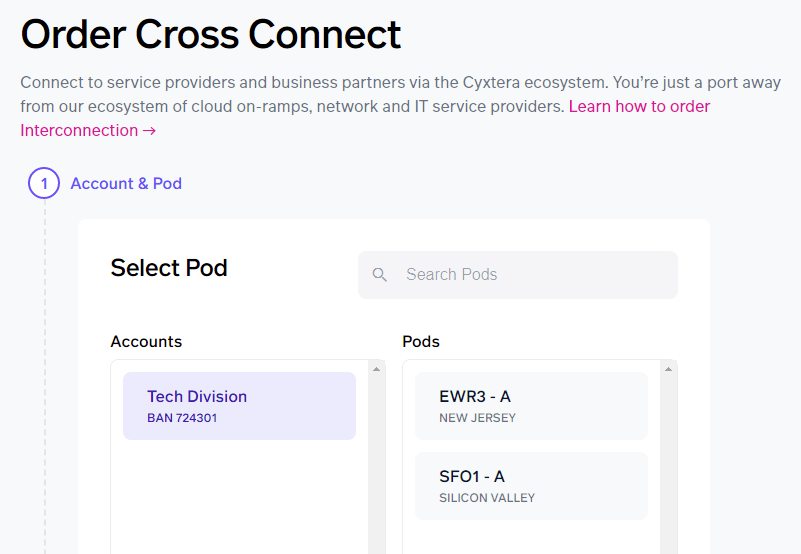
- You can change an alias at any time. To delete your alias, clear the alias name box and click Save. Your original identifier will then be used again.
How to create an alias for a cage or rack
Follow these steps to create an alias for a cage or rack.
- Log in to the Command Center. Any customer admin with portal access can see and change the alias associated with a cage or rack.
- Navigate to the cage or rack you want to assign an alias to.
- Near the top of the page, it will either say “Add an Alias” or the existing alias will be shown. Click the pencil icon.
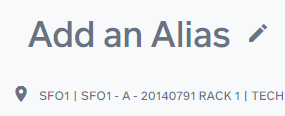
- Edit the name to your chosen alias. Press Enter or click the check mark inside the name box when you’ve finished.
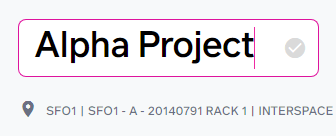
- Your chosen alias is shown throughout the interface and can be used to search. For example, when you create a support case, you can search for a rack using its alias after you have selected the Rack product type.
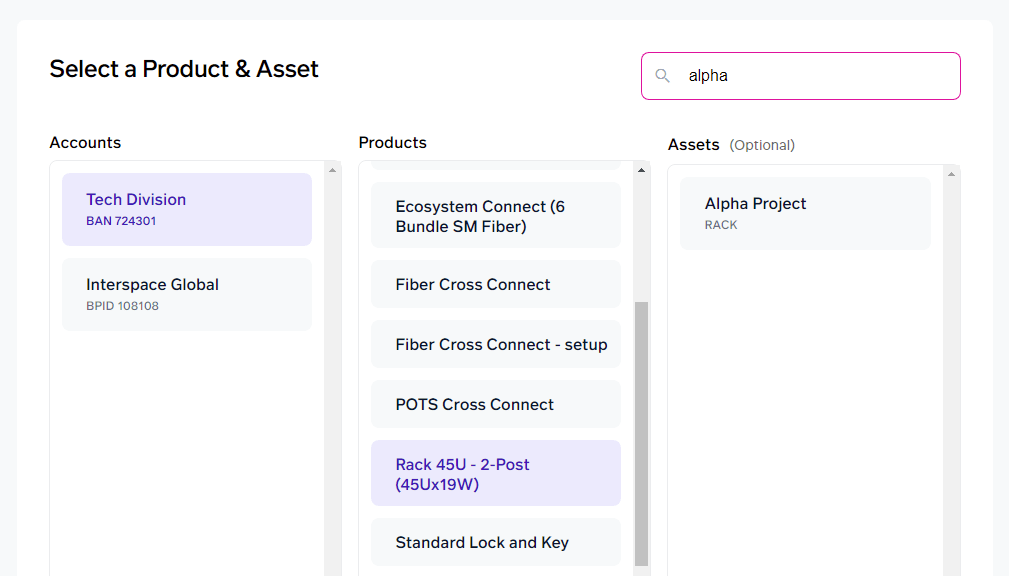
- You can change an alias at any time. To delete your alias, clear the alias name box and press Enter or click the checkmark. The identifier we originally assigned to this asset will then be used again.
Updated 20 days ago