Deploy AI Infrastructure On-Demand with Enterprise Bare Metal
Set up a new Nvidia DGX A100 node using Enterprise Bare Metal to tackle any AI/ML workload, from deep learning to high-performance computing.
Intro
In this guide, we will walk through the process of provisioning an NVIDIA DGX A100 via Enterprise Bare Metal on the Cyxtera Platform.
The DGX A100 is Nvidia's Universal GPU powered compute system for all AI/ML workloads, designed for everything from analytics to training to inference.
Cyxtera offers on-demand access to the latest DGX systems. Our goal is to make DGX more broadly accessible by making it extremely simple to provision and removing the requirement for large upfront capital purchases.
Whether you're a looking to leverage the on-demand infrastructure available through Enterprise Bare Metal on its own, or do so alongside existing colocation, it's easy to get started.
This guide will show you how to quickly set up a new DGX A100 node using Enterprise Bare Metal within the Cyxtera Platform, so that you can get started with your AI/ML workloads.
Requirements
Setting up the DGX A100 with existing colocation and network access
- A Cyxtera account with Customer Admin permissions. If you don’t yet have an account, contact us to get started today.
- A fully configured Exchange Port (CXD Port). Both fiber connections must be used for redundant connectivity. For more information, refer to our Exchange Port Guide.
- A Layer 2 VLAN to act as the Management VLAN within your cage or rack. This VLAN is extended to the DGX A100’s primary network interface and IPMI interface. A separate VLAN may be used for IPMI if desired.
- A private IP subnet with enough available IP addresses for the server’s IPMI interface.
Setting up the DGX A100 without colocation or network equipment
Even if you do not have colocation or network equipment in the location where you wish to deploy your DGX A100, IP Connect + Layer 3 Services may be used. Through ANS, you can access the DGX 100 using either IPsec VPN or SSH without the need for any additional hardware.
To go this route, you will need:
- A fully configured instance of IP Connect + ANS. For more information, see our Guide to Deploying IP Connect + ANS.
- If you plan to connect to the compute environment via IPsec VPN, please ensure that this is configured in your IP Connect + ANS instance.
- If you plan to access the DGX through either the BMC web UI or SSH, please ensure that your IP Connect + ANS has at least one DNAT configuration. For SSH access, ensure that you port forward 22. For BMC access, port forward 443.
Provisioning the DGX A100
Let’s begin by provisioning a new compute node within the portal using the DGX A100.
Note:
The process to set up a DGX A100 is similar to that used to provision any other single compute node. For additional details, please refer to our full guide to Deploying Compute with Enterprise Bare Metal.
Set up a new Standalone Node in Cyxtera Portal
-
Access the Cyxtera Command Center using your credentials.
-
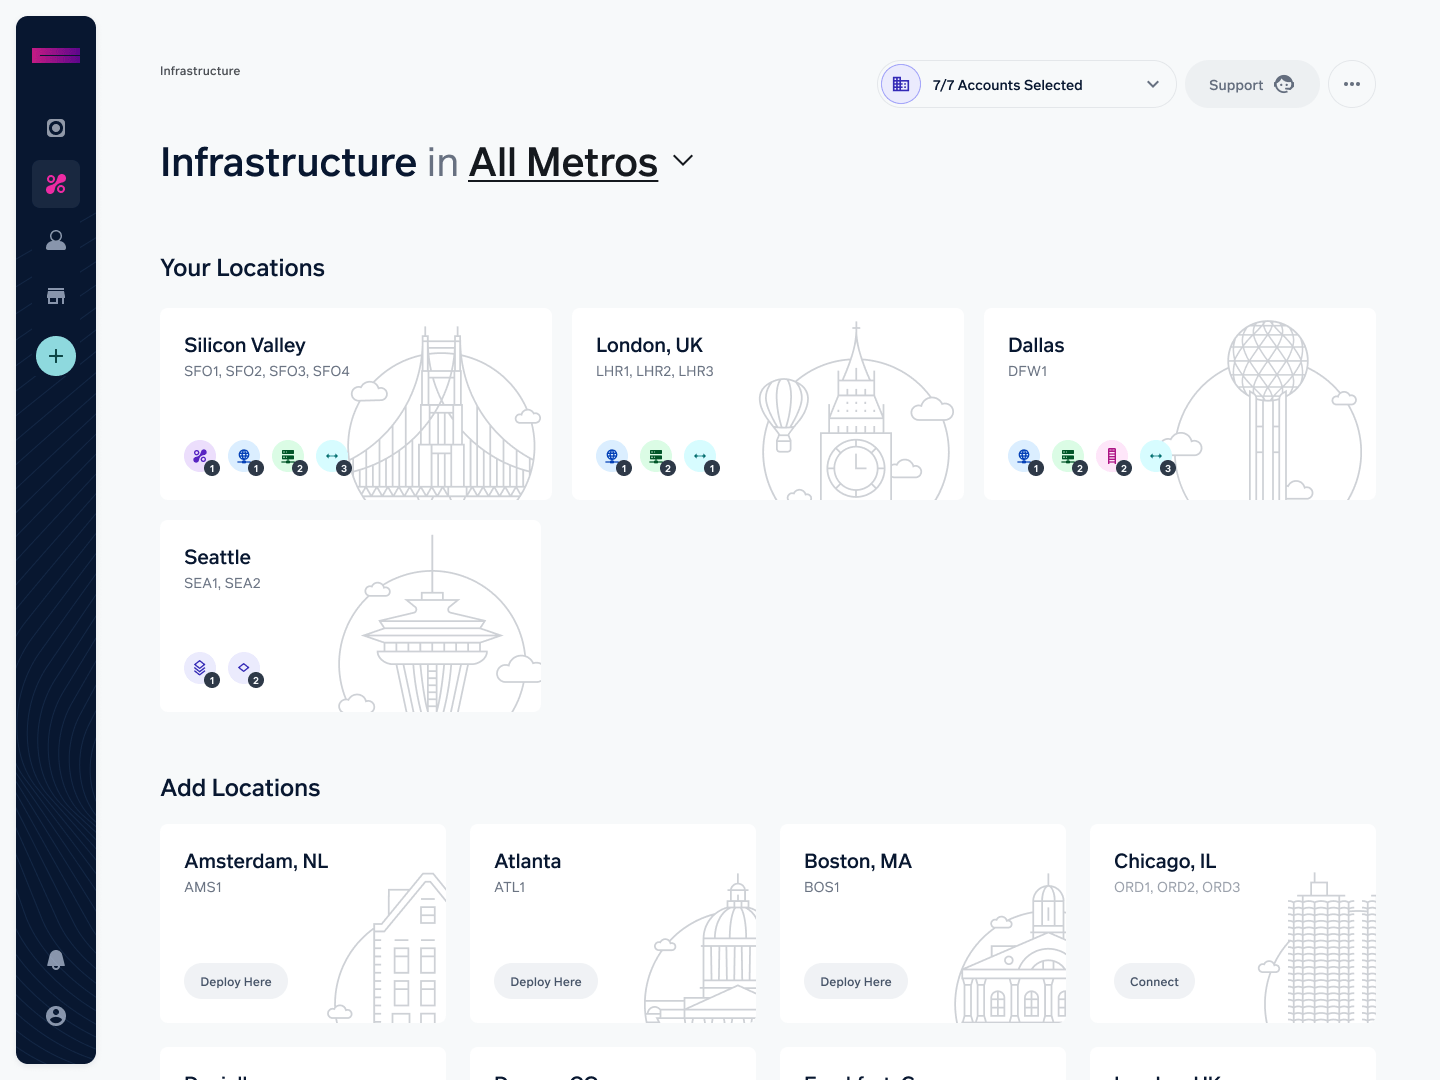
Select the metro location where you’d like to provision your DGX A100. For now, DGX A100s are currently only available in our Washington DC data center, but more locations will come online soon.

- Select “New Order" from the header of the metro page.
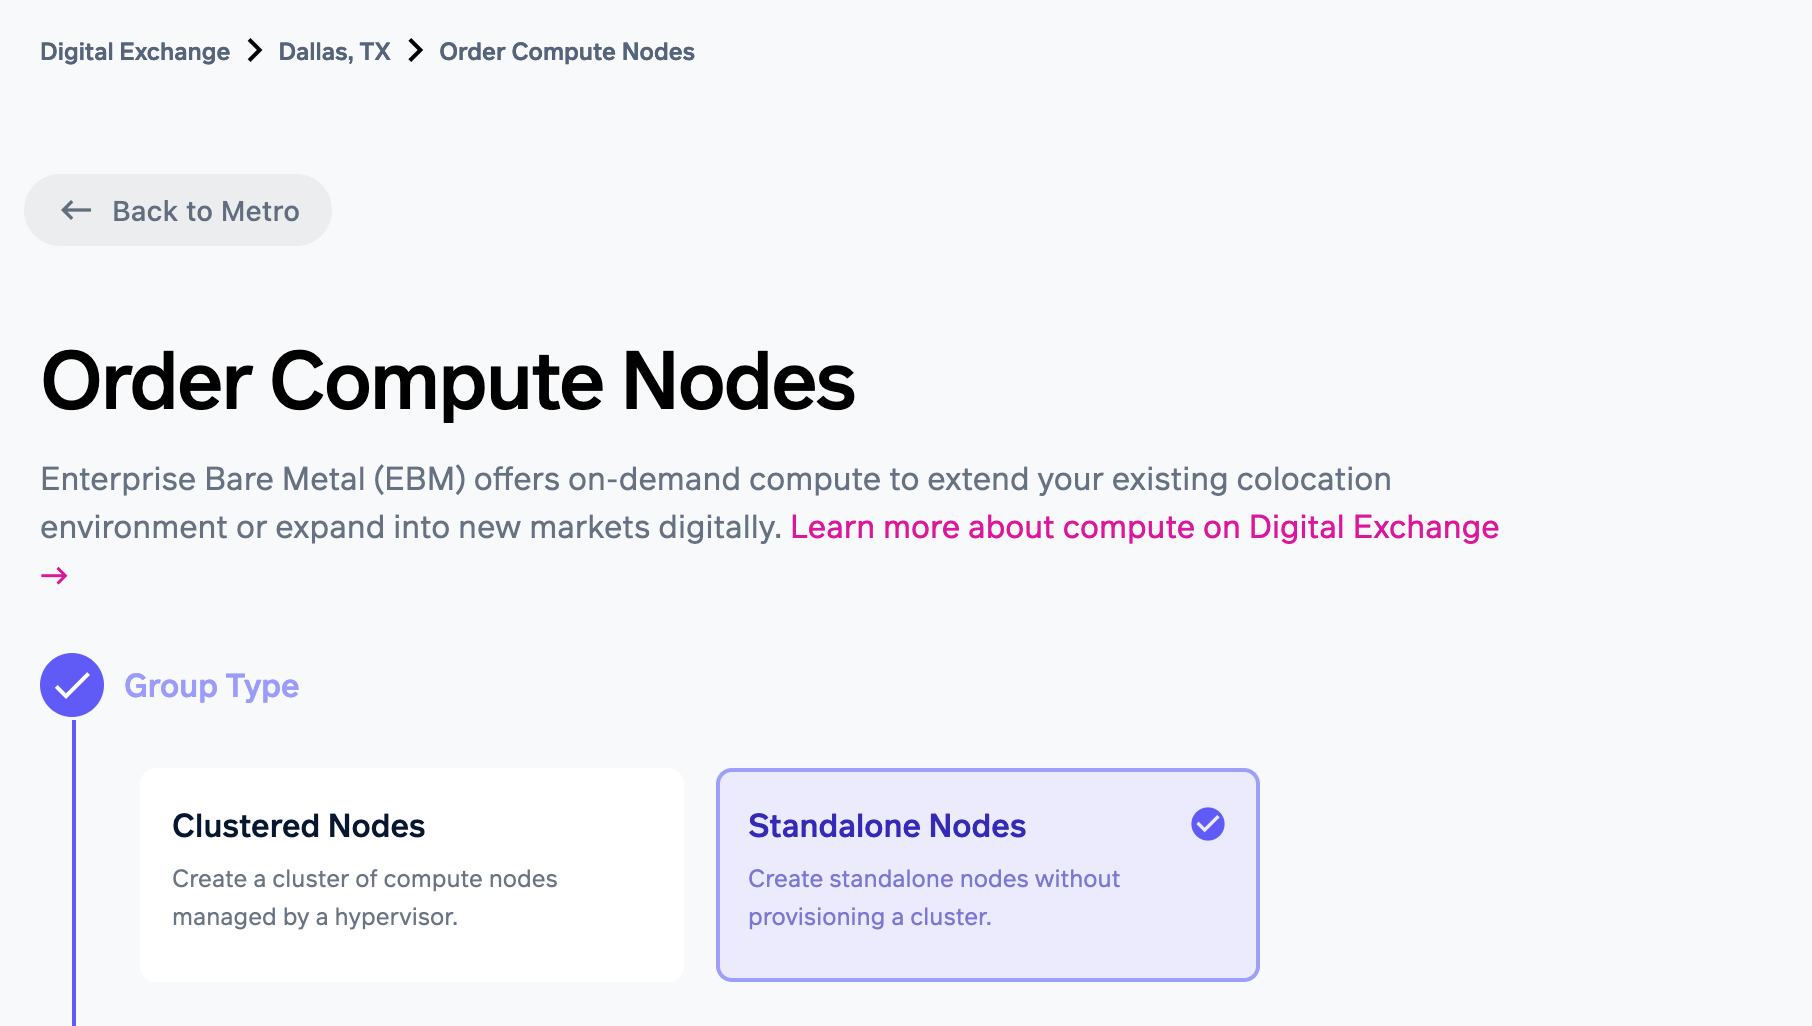
- You will be presented with the option to create a standalone or clustered node group. Select Standalone Nodes.

Select "Standalone Nodes"
This will begin the provisioning workflow, which has four sections to complete:
- Node group details
- Networking information
- IPMI Credentials
- Network Associations
Enter Node Group Details
First, you will be asked to enter the Node Group Details. These determine the type and model of hardware to be used in the node, as well as key details about your order like contract term and the number of servers to deploy.
- Name: Choose a friendly name for this Compute Node Group. Usually this is descriptive of the function or location of the group, i.e. 'DGXA100-IAD.'
- Pool: Select “Standard Nvidia.”
- Model: Select “DGXA100” from the available inventory.
- Term: Select a contract term. Pricing will vary depending on the length of term you select.
- Quantity: Select the number of servers you wish to deploy. The number of servers available for this model is shown to the right.
- Click 'Add Model.'
- Click 'Next.'
Enter Networking Details
In the Networking section, you’ll provide the details for the network and addresses you’ll use to connect to your DGX A100. Fill out the following sections to continue provisioning your node:
-
Use Management Network for IPMI - Checking this box will connect the out-of-band management interfaces of the DGXA100 node to the same VLAN as the primary network interfaces. This is the default configuration.
-
Management Network Details
VLAN - This is the VLAN that the DGX A100 node’s network interface will be connected to. The network is a special type called a Management Network. If you already have an existing Management Network, you may choose Existing VLAN and select the network from the drop-down. If you do not have an existing Management Network, you must create one by selecting New VLAN and providing a VLAN ID (1-4096) and Name.
Configure Static IP (Optional) - If you do not have a DHCP server in your environment, checking this box will enable you to provide network details so that automation can apply a static IP to the IPMI interface of your new node. If you do not apply a static IP, ensure that DHCP is available on the Management VLAN to provide IP addresses.
If you check this box, please enter the following information to configure the static IP:
- Address - This network will be used to allocate IP addresses for the IPMI interfaces. Enter a valid private subnet in this box and the provisioning process will allocate the appropriate number of IP addresses from the network. The system will reserve 1 IP per node.
- Network Size - Select the size of the subnet from the drop down. This will apply the associated subnet mask for the network.
- Gateway IP - The IP address of the default gateway for this subnet.
- Start IP - The first IP available for use by DGX A100 in the subnet. Note that the provisioning process requires contiguous space for the addresses.
- Click 'Next.'
Select Associations
This step will allow you to connect virtual networks to your DGX A100 as part of the provisioning process. This is useful for connecting to service providers like Zadara for large-scale storage. Additionally, here you can connect your specified Management Network to Cyxtera Ports to establish connectivity to an existing colocation environment.
Virtual Network and Exchange Port connectivity can be changed later in the Digital Exchange.
Ensure connectivity!
If you do not connect your Management Network(s) to an Exchange Port or an instance of IP Connect + Layer 3, you will be unable to access your DGX A100 over the network until connectivity is established.
Here you will see two sections: Virtual Networks and Exchange Ports. Check a box to connect a network or Exchange Port to this compute node.
- Virtual Networks: Select any Public or Private virtual networks to be connected to the DGX A100 node. These will be sent to the node’s primary network interface as 802.1Q tagged traffic.
- Exchange Port(s): Select one or more Exchange Ports to connect the Management Network to.
Checkout
After all the information has been completed, proceed to checkout to confirm the order. At this point, servers will immediately being provisioning.
Note: IP Details will be sent via email if the appropriate option is selected during the process.
Save this information!
Save your IP details, as they will be important for accessing your node. The system does not store any customer IP address information once provisioning is complete.
Node Setup
Once you click “Submit Order,” your new node(s) will appear in the Digital Exchange metro page.
The Digital Exchange will begin an automated process to provision your new DGX A100 node, setting up all the network plumbing in the background. The status indicator on the nodes indicates whether the node is configuring or installed (configuration complete.) After about 30 minutes, you should see the node status indicator change color to green. Your DGX A100 is now provisioned and ready to use.
Accessing the DGX A100
Based on your needs, there are a number of secure ways to access the DGX A100 from your environment.
BMC Access
Nvidia provides a BMC for remote connection to the A100, which you can connect to using the IPMI address specified during the Networking step. If you chose 'Configure Static IP' during that process, you should use the IP addresses that were listed in the summary page of the provisioning workflow.
IPMI Credentials: a random password is generated for each compute group. That means every server will have the same password for the IPMI account.
- You can retrieve the password by clicking the compute group and selecting 'View IPMI Credentials.'
- The username for customer IPMI accounts is 'operator.'
Once you access the BMC, more information on its UI, capabilities, and operation can be found in Nvidia's DGX A100 User Guide.
Access through IP Connect + Layer 3
If you are using IP Connect + Layer 3, you can access your DGX A100 directly in two ways, depending on how you have configured your IP Connect+ANS instance:
- Via the IPsec VPN tunnel, or
- Using a DNAT address to access the DGX A100 via SSH.
For more information, please refer back to the IP Connect + Layer 3 deployment guide
Using the DGX A100
The DGX A100 by default comes with Nvidia’s DGX OS on board, giving you everything you need to customize your environment and start on AI/ML workloads right away.
DGX OS is a customized Linux distribution based on Ubuntu Linux. It includes platform-specific configurations, diagnostic and monitoring tools, and all requisite drivers to provide a stable, tested, and supported OS for running AI, machine learning, and analytics applications on DGX systems.
As provided by Nvidia, DGX OS 5 incorporates these default components:
- Ubuntu 20.04 LTS distribution
- Single ISO for all DGX systems
- NVIDIA System Management (NVSM)
- Provides active health monitoring and system alerts for NVIDIA DGX nodes. It also provides simple commands for checking the health of the DGX systems from the command line.
- Data Center GPU Management (DCGM)
- This software enables node-wide administration of GPUs and can be used for cluster and data-center level management.
- DGX system-specific support packages
- NVIDIA GPU driver, CUDA toolkit, and domain specific libraries
- Docker Engine
- NVIDIA Container Toolkit
- Cachefiles Daemon for caching NFS reads
- Tools to convert data disks between RAID levels
- Disk drive encryption and root filesystem encryption (optional)
- Mellanox OpenFabrics Enterprise Distribution for Linux (MOFED) and Mellanox Software Tools (MST) for systems with Mellanox network cards
For more information on DGXOS, please visit Nvidia’s DGXOS documentation.
Finally, if you’re looking for additional resources to kickstart your work on the DGX A100, Nvidia’s NGC catalog is a great place to start. The NGC catalog is a hub for GPU-optimized software for deep learning (DL), machine learning (ML), and high-performance computing (HPC). It offers access to containers, models, and more to accelerate the deployment and development workflows for data scientists, developers, and researchers.
Visit the NGC catalog here.
Ready to get started with AI/ML compute as a service?
Seeing and experiencing the power of AI/ML Compute as a Service powered by NVIDIA DGX™ A100 systems could open up new opportunities for you and your business.
Updated about 1 year ago