
Order IP Connect with ANS
The Advanced Network Services (ANS) option in IP Connect enables you to use our router to connect to the internet, and to configure Layer 3 services such as virtual private networks (VPNs).
Using the IP Connect with ANS service gives you access to Advanced Network Services. It enables you to use our router, so you don’t need one in your cabinet. It also gives you access to Layer 3 capabilities, so you can configure virtual private networks (VPNs), network address translation (NAT), and dynamic network address translation (DNAT).
Order IP Connect with ANS service
To set up an IP Connect with ANS service, follow these steps:
- Sign in to Command Center.
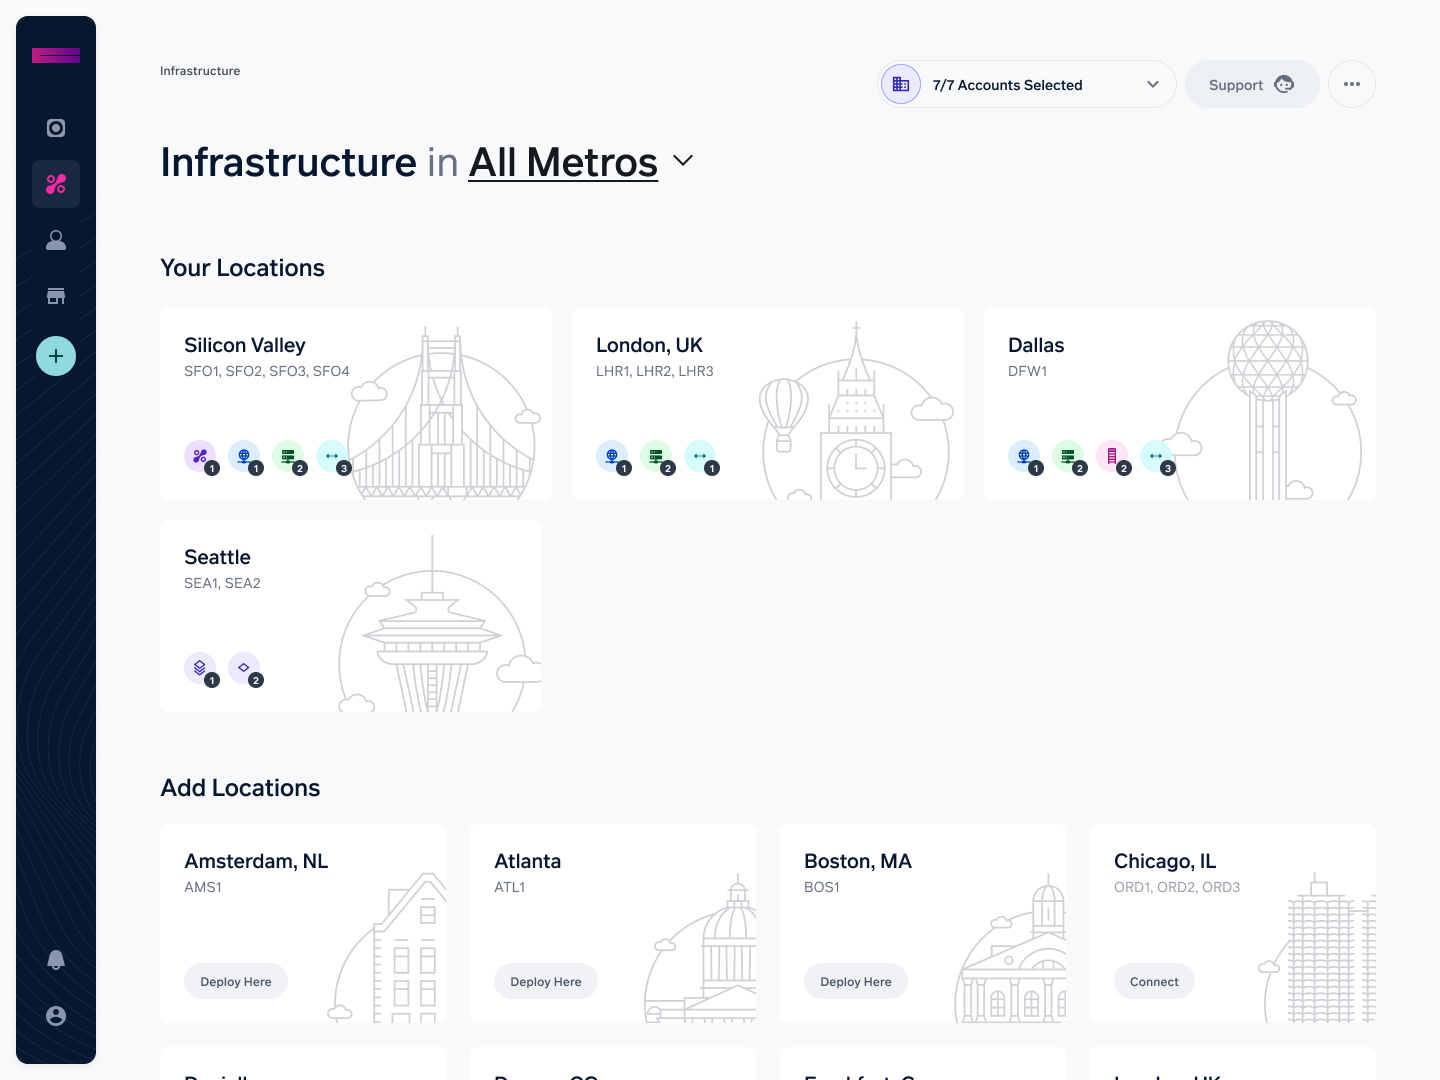
- On the navbar on the left, select Infrastructure.
- Choose one of your locations, shown at the top of the screen.
- You now see the Digital Exchange services in your chosen location. Where it says IP Connect, you can see your existing IP Connect services. If you have ordered an IP connect service from your account rep, you’ll see it here, labelled as “reserved”. Select the reserved IP Connect to begin activation. In this guide, we’ll assume you have not already ordered a service and you are setting up a new IP Connect service through the Cyxtera portal.

- On the right, select Order IP Connect.
- On the Order IP Connect screen, select IP Connect + ANS as the connection type. We have separate guides if you want to set up IP Connect Standard or IP Connect + BGP.

- Complete the general information for this service:
- Name: Enter a name that will help you to identify this connection.
- Commit rate: Choose the maximum bandwidth of this IP Connect instance, from 10 Mbps to 5 Gbps. If you choose Fixed, the IP Connect service will be rate limited to your chosen bandwidth. If you choose Burstable, your traffic can burst up to 1 Gbps for bandwidth tiers up to 500 Mbps; and can burst up to 10 Gbps for higher tiers. Additional charges apply for traffic above your chosen tier.

- Select Add Network to start configuring your network. Choose whether you want to use an Existing network you’ve already set up in your Cyxtera infrastructure, or whether you want to create a New one. Note: You can create up to seven networks.
If you are creating a new network, enter the following:
- Name: This should be a name that will help you to identify this network.
- VLAN: This must be a number from 1 to 4094 that is not already associated with a VLAN in your account. The VLAN number is used to identify your VLAN and route traffic through it.
- Address: Enter the starting IP address you will use for this network.
- Network Size: The network size is set using Classless Inter-Domain Routing (CIDR) blocks. /29 gives you 8 IP addresses. /24 gives you 256 IP addresses. Cyxtera uses the first three IP addresses in your block for your infrastructure.
- Associate Networks: Choose which of your compute nodes or Digital Exchange Ports you would like to bind this IP Connect service to. The form shows your ports and compute nodes that available in this location. If you select a port or compute node in error, click it again to deselect it.

If you are using an existing network enter the following:
- Virtual Network: Choose one of your previously configured VLAN names.
- Address: Enter the starting IP address you will use for this network.
- Network Size: The network size is set using Classless Inter-Domain Routing (CIDR) blocks. /29 gives you 8 IP addresses. /24 gives you 256 IP addresses. Cyxtera uses the first six IP addresses in your block for your infrastructure.
- Associate Networks: Choose which of your compute nodes or Digital Exchange Ports you would like to bind this IP Connect service to. The form shows your ports and compute nodes that available in this location. If you select a port or compute node in error, click it again to deselect it.

- Routing is enabled by default when two or more networks are configured. This allows two or more of your internal/private networks to communicate with each other. Choose Disable if you wish to turn routing off. You can select the Add Network button to add additional networks.

- You can use DNAT to only allow traffic from specific sources to access this network connection. For example, you might configure it to only allow traffic from your private network. The DNAT configuration allows you to filter by port, protocol, and source address. To set the rules for which connections are allowed, select Add New DNAT Configuration. Choose the Virtual Network you wish you configure, and enter an IP address within that virtual network. Choose the Port Type (for example, FTP, SSH, or HTTP) and click Add. You can add multiple port types. In the Address Sources enter the starting public IP addresses you wish you to allow to connect, and their Network Sizes. Hover over the information icon beside Network Address to see private IP addresses you cannot allow. You can select Add to add additional IP address ranges.

- Each DNAT you add, with its set of rules, will have a public IP address associated with it. The IP Connect with ANS service uses six public IP addresses for its service so adding any DNAT requires an additional block of IPs. You can choose how many additional public IP addresses you want to add using the Additional Public IPs selection.

- Select Submit Order under your Order Summary on the right.

- You should see a confirmation that your order has been submitted successfully. It takes a few minutes for your IP Connect service to be provisioned. During this time, it shows as “Pending” when you visit this location in the Digital Exchange. When it’s ready, it is shown as “Installed”.

Updated about 1 year ago