
Grant Data Center Access
Data center access can only be granted to contacts on your account. When an outside vendor needs access to your space, you must first add that person as a contact before you can add data center access. Data center access can be added when creating a new contact or to any existing contact.
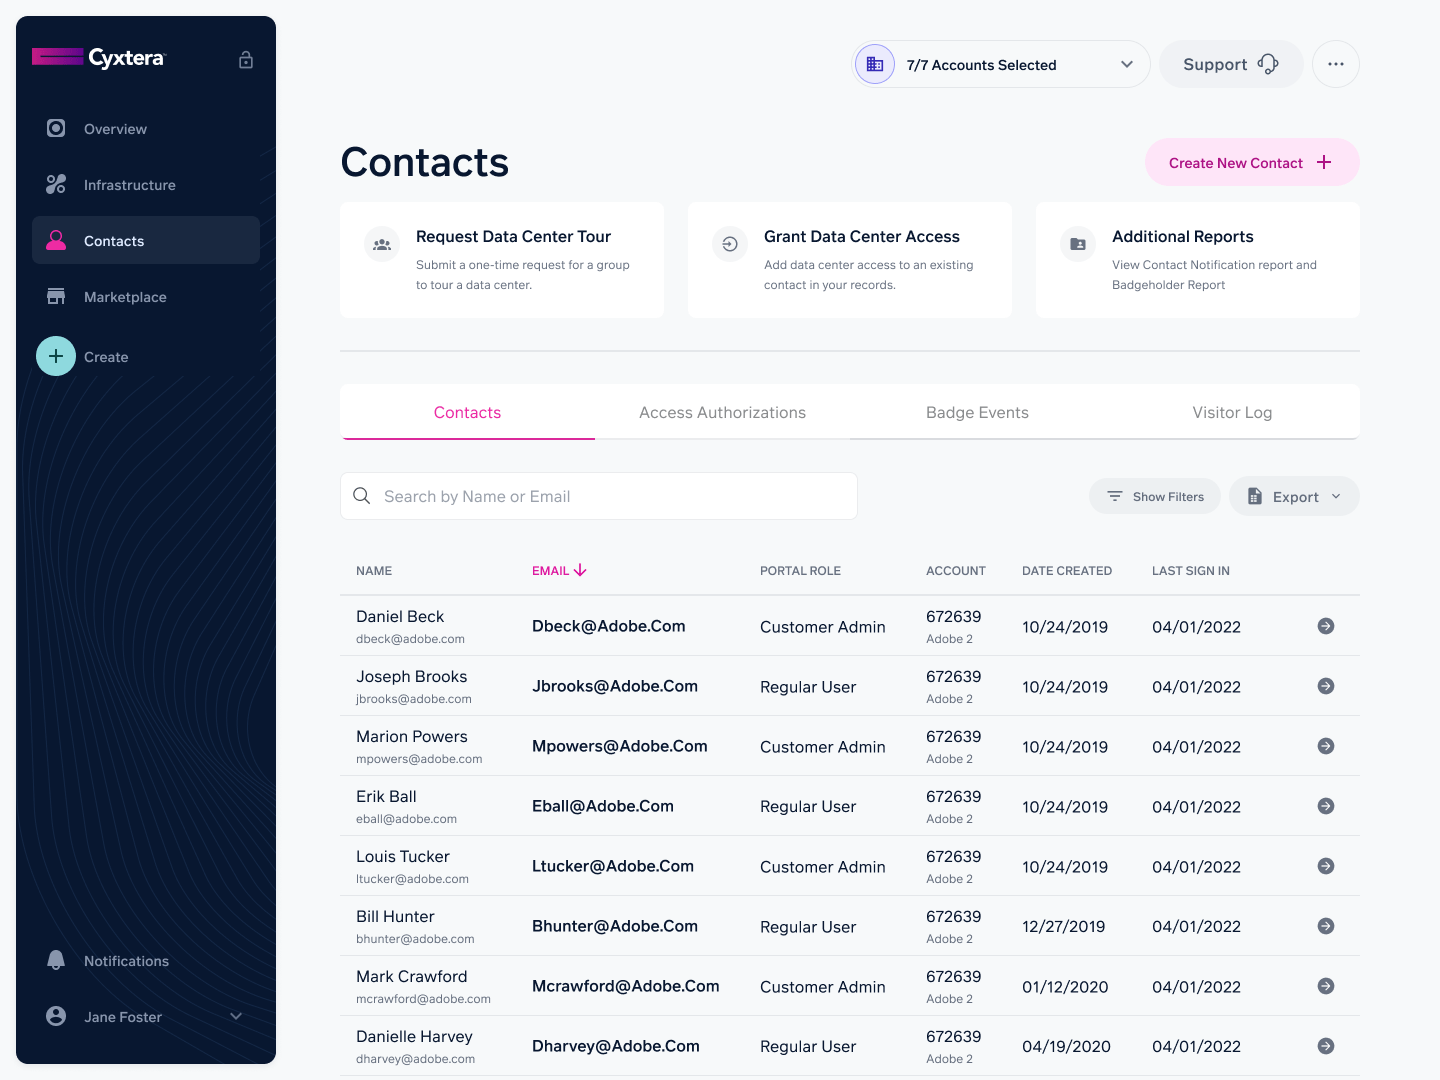
Data center access can be managed from an individual contact’s detail page. To manage access via the Contact details, select the Contacts navigation item in the navbar. From the resulting list of contacts, locate and select the desired Contact. On the contact's details page, select Grant Data Center Access next to the "Access Authorizations" heading.
Granting Access to an Existing Contact
To begin, either:
- From the Contacts page, either select the contact you wish to grant access to then, on the contact's details page, select Grant Data Center Access next to the "Access Authorizations" heading.
- Open the Grant Data Center Access form by selecting the link at the top of the Contacts page and search for the Contact you would like to add access for.
Granting Access to a New Contact
From the Contacts page, select "New Contact" and fill out the form for the new Contact, when the form asks "Will this contact have Data Center Access?", select "yes" if your intention is that they have access to one or more spaces within a data center and complete the proceeding section.
From the list of spaces in each data center, select the areas this Contact should have access granted to. Security best practice is to only grant permanent access to those individuals who will regularly access the facility.

Multiple spaces may be selected at once.
After selecting spaces, next set the access timeframe. By default, the present date is selected. If the contact should have their access permanently, until revoked, select "Permanent Access". If the contact should have their access automatically revoked within a three month timespan, select "Temporary Access" and set the final date the contact should be allowed access.
At a data center, contacts with Permanent access will be issued a security badge by the local security staff. To protect your environment, security badges will be administratively deactivated (turned off) after 90 consecutive days of non-use. The badge may be re-activated at the data center after presenting proper identification and validating access rights.
Contacts with temporary access will be issued daily temporary badges which must be returned prior to leaving the site for the day. Temporary badges will not be issued by local security staff after the End Date entered when temporary access was granted.

Review and submit the form and the access authorization records will be created for the contact.
View Data Center Access Authorizations
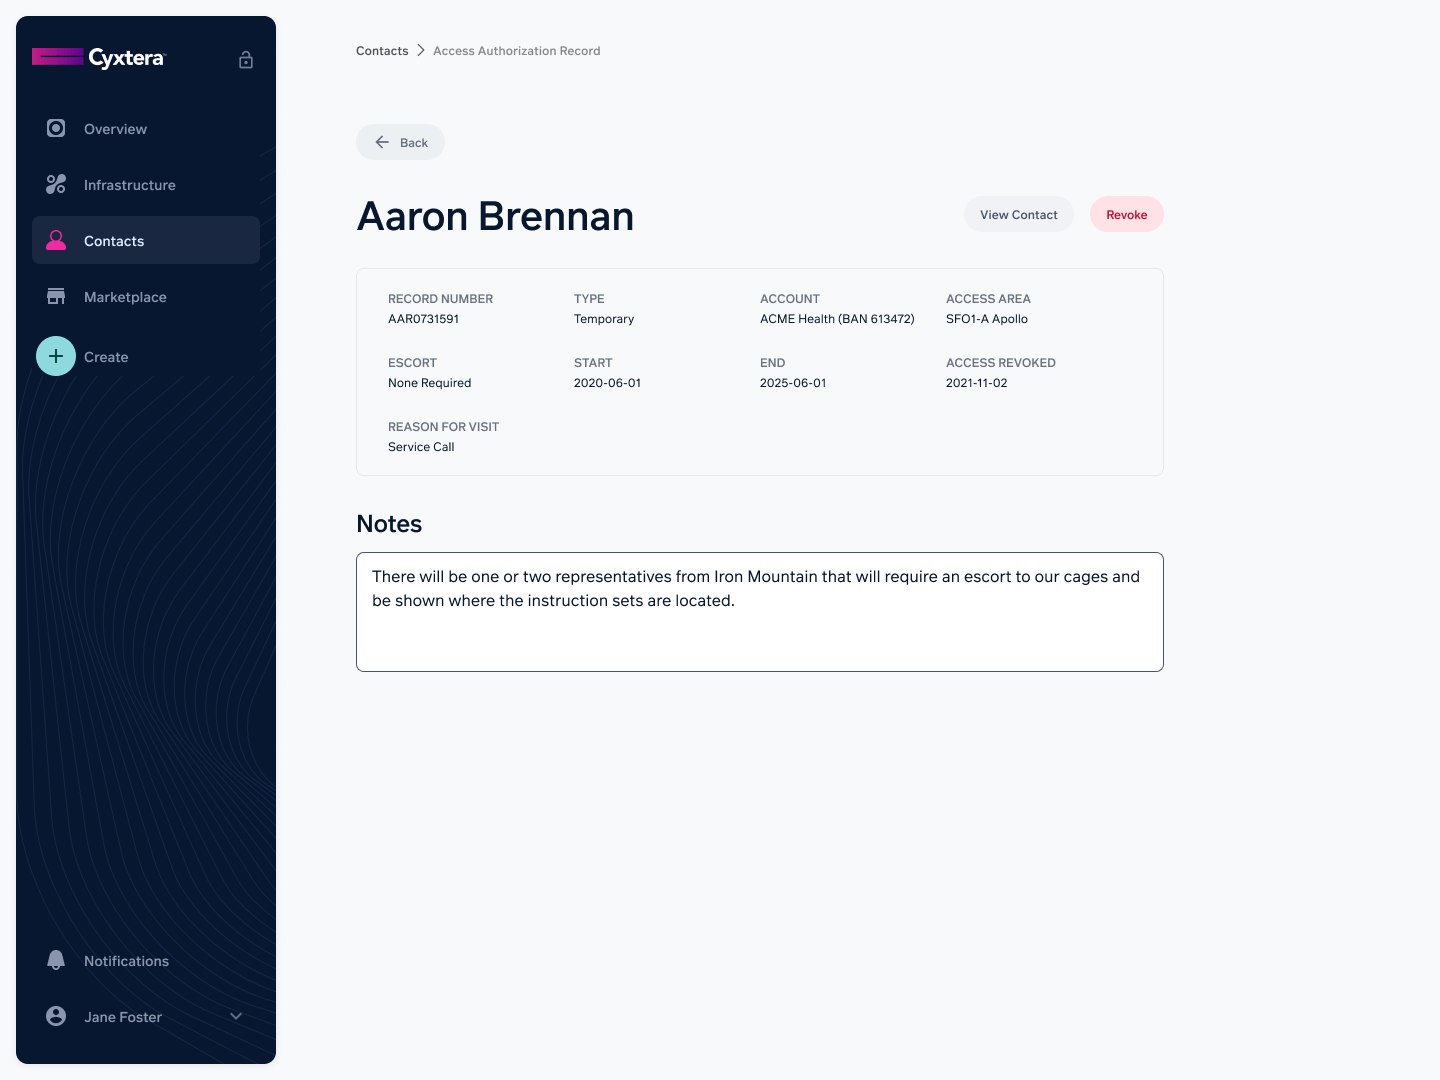
To view a report of access to a given data center, navigate to the Contacts page and select the "Access Authorizations" tab on the screen. Here you will be presented with a list of all Access Authorization Records (AAR) for the selected account(s). One AAR is created for each space a contact has access to. AARs are never deleted, they only expire or may be revoked by a Customer Admin or user with the "Manage Space Access" permission added.
On this page, it is possible show any selection of Pods by selecting "Selected Pods" above the table and adjusting the selection to include or omit any Pods from the report. Choosing the Show Filters button also reveals a set of filters for the table as well.
The Export button respects the filters you have defined so it is possible to export customized reports from this page.
Revoking Access
Data center access can be revoked by finding the Access Authorization Record (AAR) that gives access to a particular contact. Records can be found on an individual contact's detail page or via the Access Authorizations tab. Once you have found the Access Authorization record, select the "Revoke" button at the top of the record and confirm the action when prompted.
If you wish to remove all access to the accunt for a specific contact (this includes portal access), fidn the contact's record and select "Deactivate Contact" from the list of actions in the Manage Contact section near the top of the page and confirm when prompted. This will also prevent the contact from appearing in searches and other areas of the portal. Contacts may be reactivated easily by returning to the page and selecting "Activate Contact".
Updated about 1 year ago