
Add additional subnets
An instance of IP Connect includes public IP addresses for your use. You may need additional public IP addresses if you have exhausted your initial allocation. Additional addresses can be bound to an existing IP Connect instance and routed to your network device.
Requirements:
- An existing IP Connect instance.
- A network device connected to IP Connect that can route.
Steps
Provision an additional public subnet using Cyxtera Command Center.
- Sign in to Command Center.
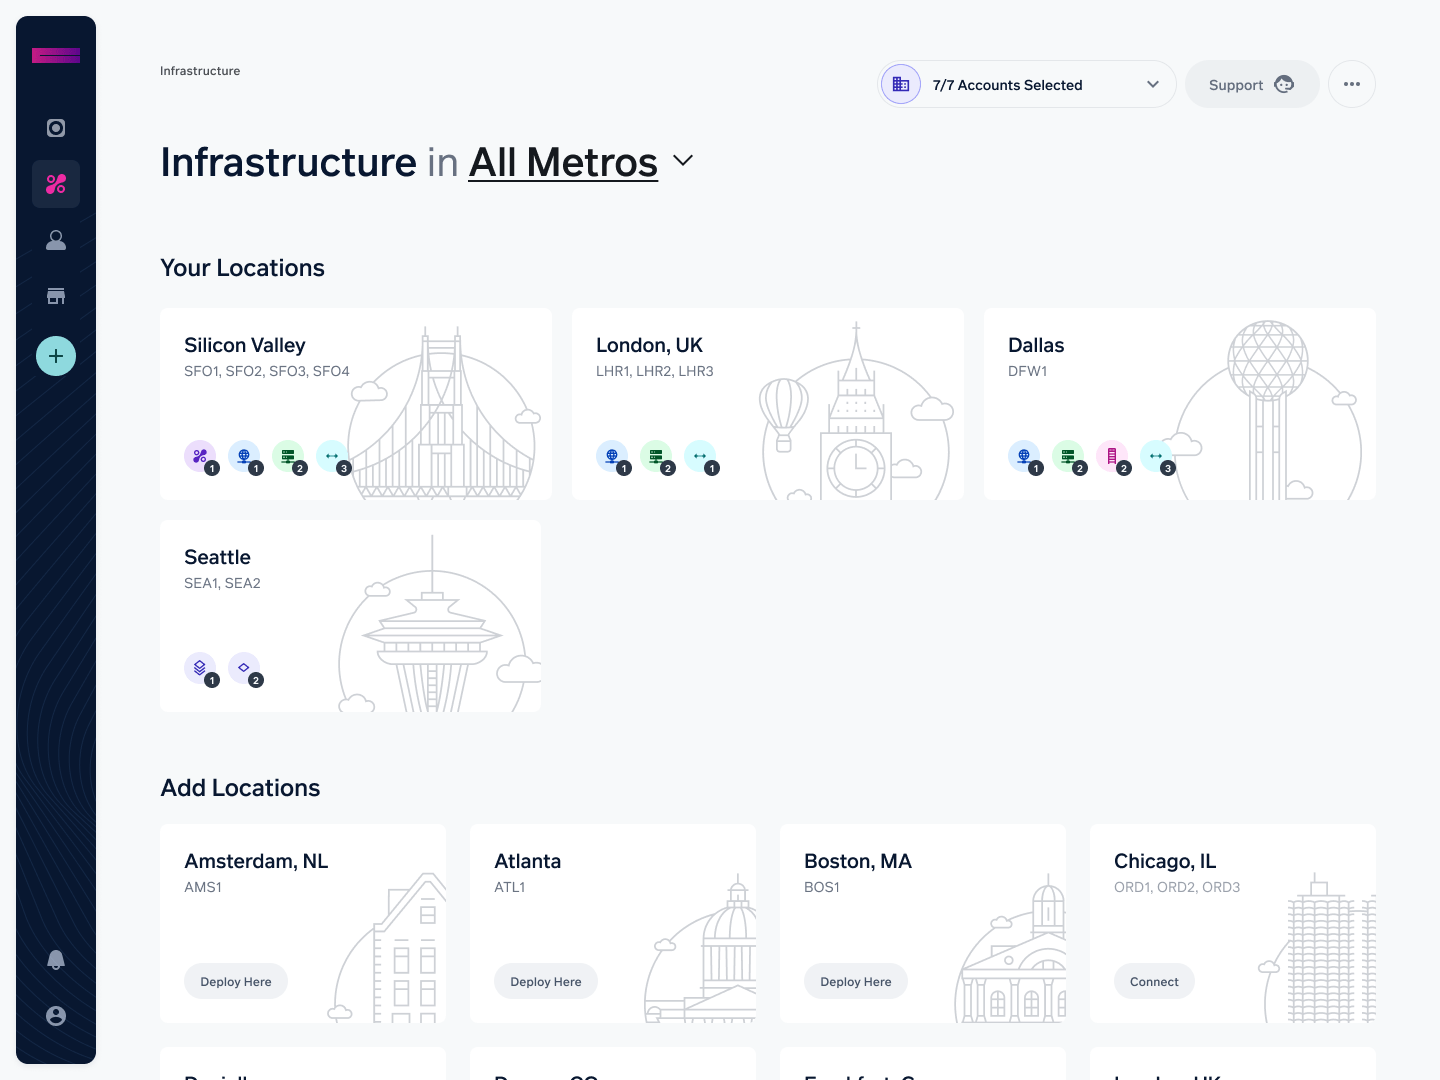
- On the navbar on the left, select Infrastructure.
- Choose one of your locations, shown at the top of the screen.
- Select the IP Connect instance you wish to expand and choose 'Add Subnet' within the Subnets section. If you have a reserved subnet from a paper order, that can be provisioned from this screen, otherwise a new subnet can be purchased here.

- Complete the 'Add Subnet to IP Connect' form details.
- Enter the 'Next Hop IP' - This is an address from your original IP Connect subnet that is bound to your network device. Traffic destined for the new subnet will be sent to this address by Cyxtera's routers. You can see the usable IPs from the original subnet in the box above titled 'Usable IPs.'
- Select a 'Network Size' - This is the size of the subnet that will be provisioned. There is a monthly cost associated with adding an additional subnet, which you can see as the price on the form updates. All addresses are usable except the network and broadcast address.
- Select "Purchase Subnet" to confirm and complete the process.

- Once the system has completed provisioning, your new subnet will be routable. You can find the subnet that was allocated by selecting the IP Connect instance when provisioning completes.
Updated about 1 year ago