Creating a Ticket Is Now Faster and Easier

We’ve launched a new interface for creating a ticket, which greatly simplifies the process. To make it easier to send us requests and notify us of issues, we have:
- Consolidated Remote Hands and Support Case requests into a single form.
- Reduced the number of ticket types, so it’s easier for you to find the most suitable option, and it’s easier for us to route your request.
- Reduced the number of form fields, so it takes less time to complete the form and you don’t need to scroll the screen as much.
- Made the form more intelligent, with built-in filters to help you find the right space or asset. If you choose a location, for example, when you come to select a cage, you’ll only see cages in that location.
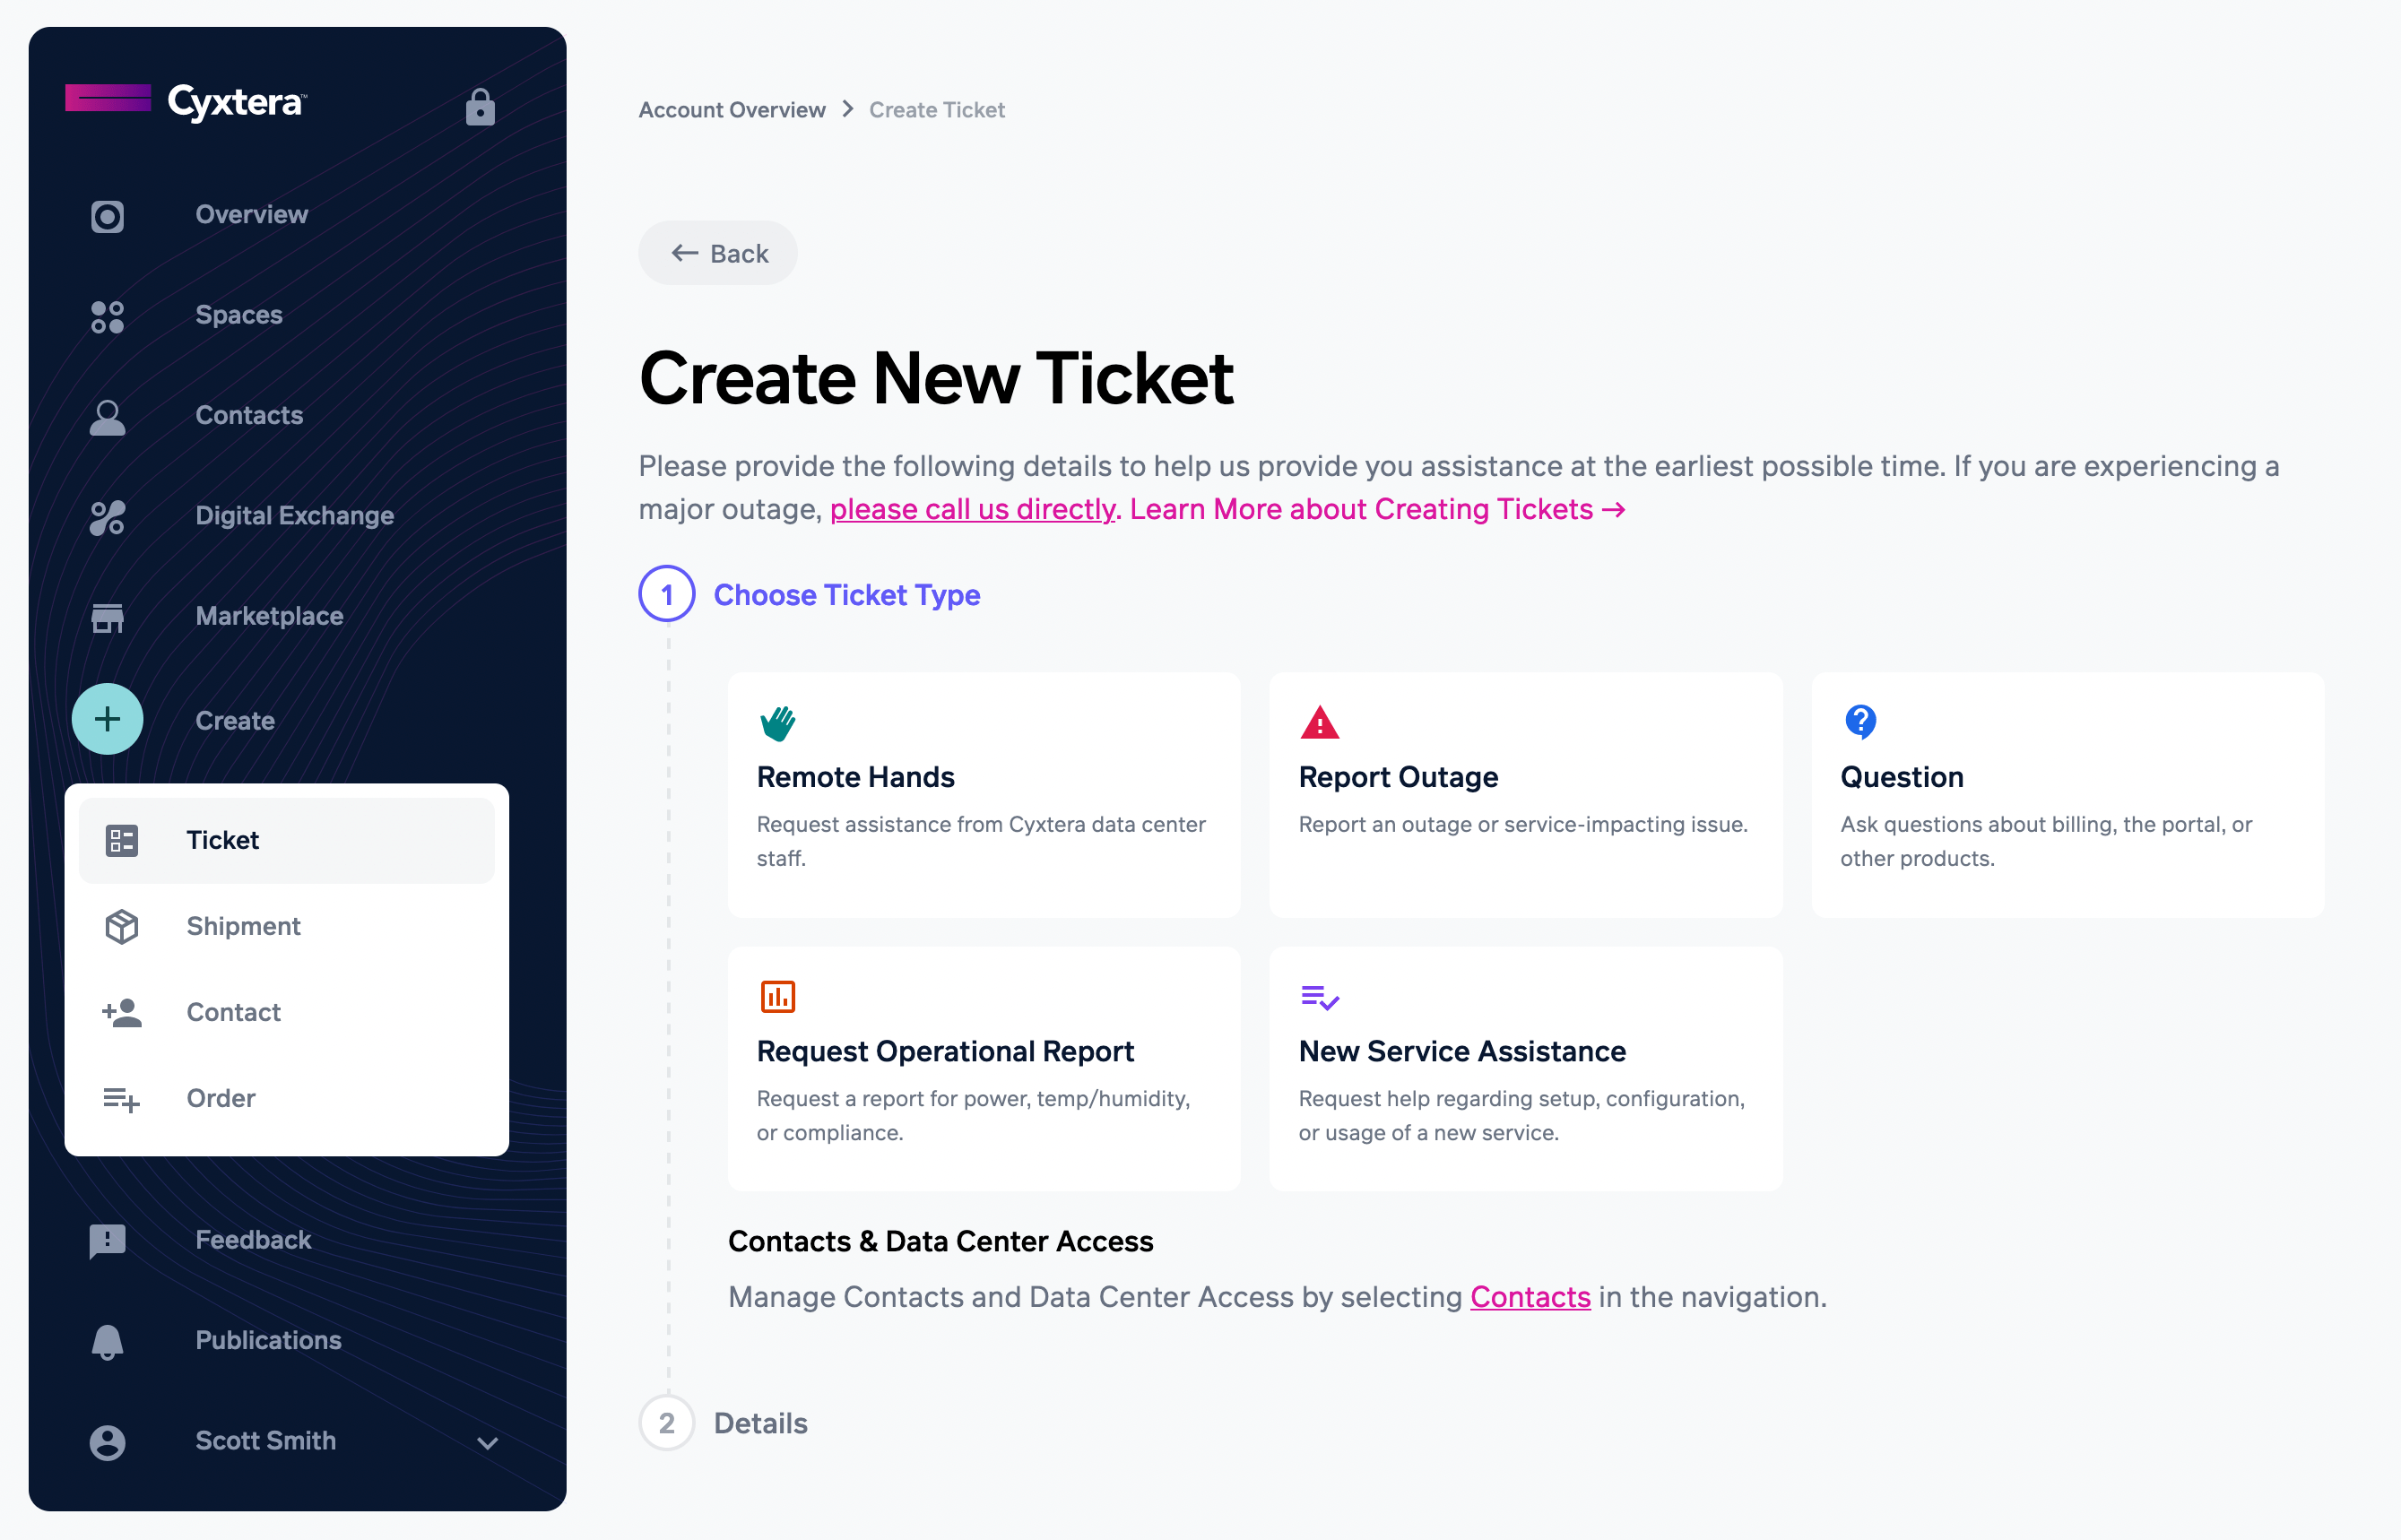
The way you start creating a ticket is the same. Use the Create Ticket option on the navbar or use the Create New Ticket button on your Tickets page. On the overview page for one of your spaces, you can open the … menu to find an option to create a Remote Hands ticket.
On the Create New Ticket form, you choose one of the five ticket types, which are Remote Hands, report outage, ask a question, request operational report, and request new service assistance.
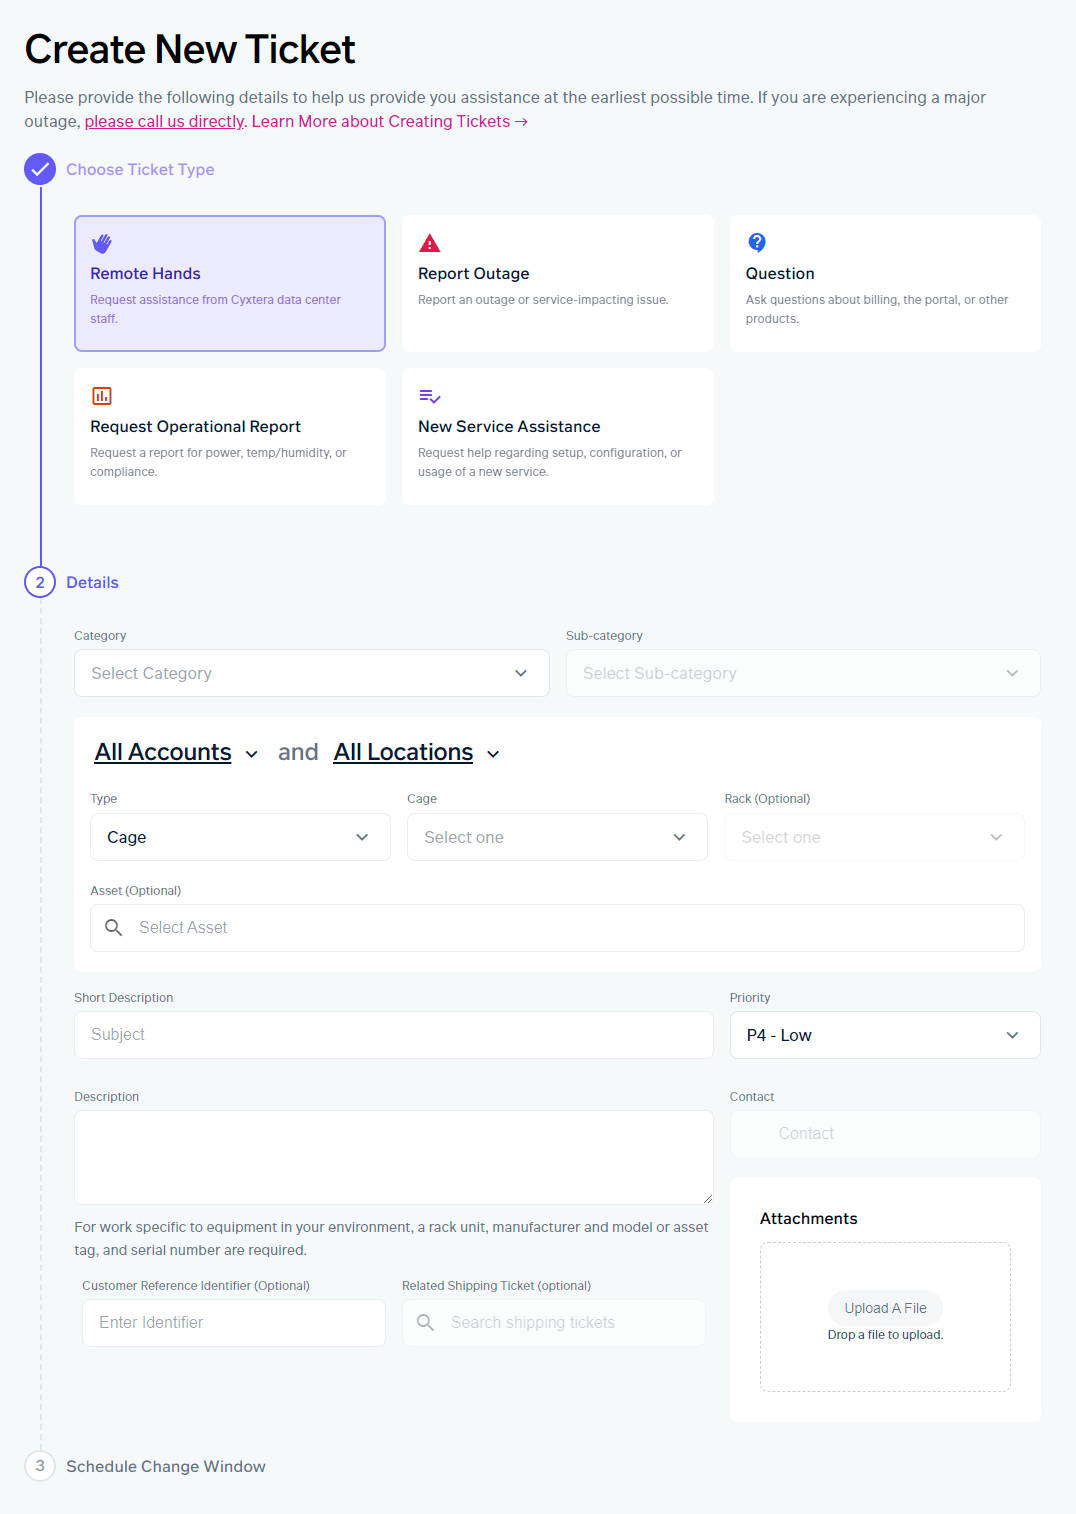
The form is similar for each ticket type, with minor variations. The Remote Hands form shown below is a good example.

You enter the category of the request (in this case, whether it’s a simple task or technical work). In the Type box, you choose whether this request concerns a cage, Digital Exchange, office/storage space, or secure cabinet. To help you choose the specific one affected, the next menu is prefilled with valid values. You can optionally drill down to the rack, and for Remote Hands, question, and new service assistance tickets, you can also choose an asset.
Enter a short description (like an email subject) and description for your request and add your contact details on the right. You can add your own reference at the bottom if you have one and can attach a document of supporting information. For Remote Hands and report outage requests, you can adjust the priority if your issue needs prompt resolution. P1 and P2 tickets should be called in to Customer Care after the ticket has been submitted. For Remote Hands requests, you can schedule your requested service, and see other scheduled requests so you can avoid any that would cause a conflict.
All tickets are shown on the overview page, which we redesigned earlier this year to combine all tickets into one view. For more information on creating a ticket, see our guide to creating a ticket.